LinkBack URL
 About LinkBacks

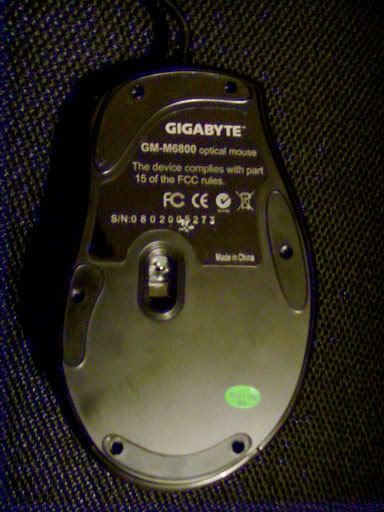
For thoes of you who's missed it, the gigabyte GM-M6800 mouse is a dirt cheap optical mouse, with two speed setting and 2 side buttons.
Personally I think it's a nice shape and fit my hand quite well.
http://forums.hexus.net/current-barg...ml#post1554242
The down sides was an overall light weight and cheap feel, so I've had a go at modding it.
Oh and Apologies for the bad photo's, energy effecent light bulbs,black plastic and digital cameras just never seem to work well together.
Part 1: Skinning a mouse.
For anyone who's never opened up a mouse before it's fairly easy, there well be one or more screws on the bottom, for which you'll need a thin crosspoint screwdriver, jeweller type as a standard screwdriver head is too thick to allow access to the sunk screws.
Now normally (infact on every other mouse I've opened) the screw is ether exposed or hidden under the serial number/information sticker.
Simple way to locate such a hidden screw is just to run the tip of the screwdriver over the sticker untill it "dips" in and there is the screw.
I did the same on this mouse found a dip of about the correct size, however after carefully cutting open the sticker I found it's a moulding pointThis is a bit odd as moulding points are normally on the inside.
I next peeled away one of the side rubber panels on a hunch, there are a few small square holes under it and I got a bad feeling that this mouse might be held together by plastic clips and not screw was involved, which would make it next to impossible to open without breaking.
Luckly the is not the case, which I discovered when I peeled away one of the feet, there are infact 6 screws in total, 2 under both the top and bottom feet and 1 each under the left and right feet.
No you only need to remove the top two and bottom two at first, these screws hold in the top section.
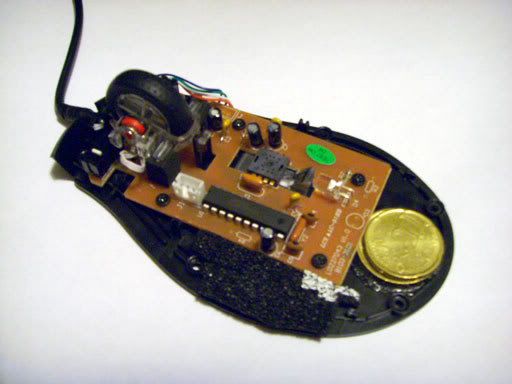
ok not easy to see here but the top is actually made up of two peices sandwiched together.
and held together by one screw (which can just been seen below the wire)
the curcit board sandwiched between the two parts has the microswitchs for the side buttons and the speed button, it's held on to the lower part by a couple of screws (I didn't try to remove it)
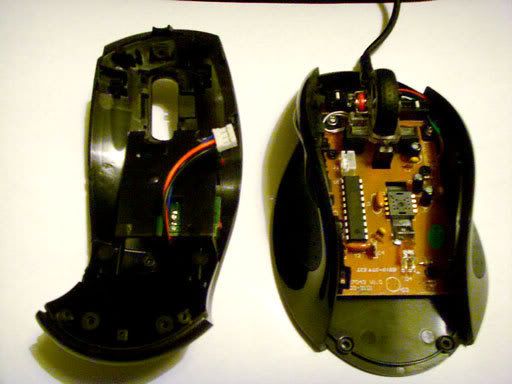
The two side sections are held on by both the single screw on the bottom and a single screw on the inside near the front.
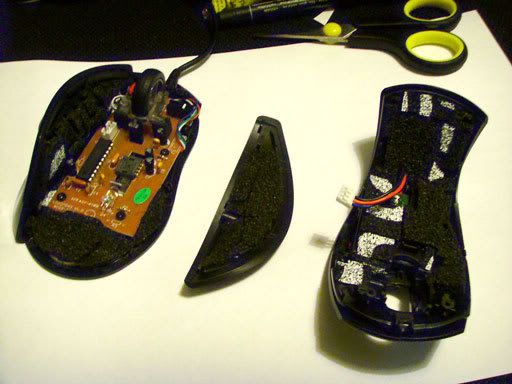
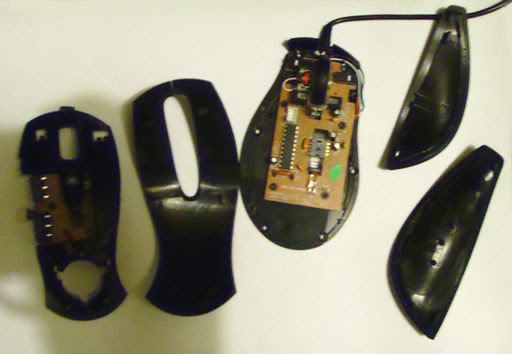
Here it is broken down into all 4 parts.
I had a go at removeing the main curcit board which is held on by 4 screws, however before you can take that off you need to remove the wheel section and I couldn't get to off.
The wheel section is held in by a plastic pin at the front, which I could detach and a clip arrangement at the back which I could not realease and didn't want to break it so for now I gave up.

 Reply With Quote