LinkBack URL
 About LinkBacks

Yes finally after months of waiting here is the review of the case I've been promising you all.
Now ever since I first saw, in person, the Antec 900 I've had a list of requirements for a case in my head.
- Mid tower
- Wide enough for 120mm fan based tower CPU coolers
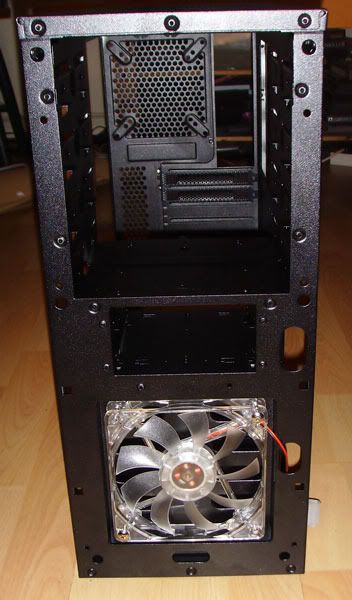
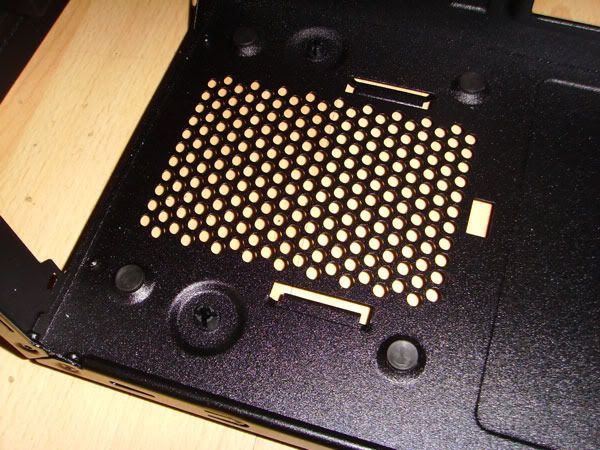
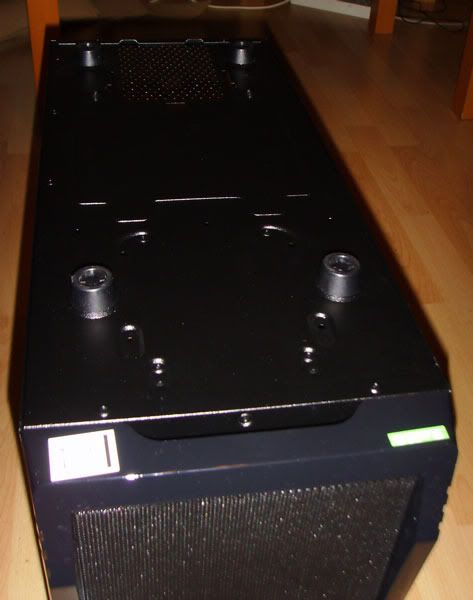
- Lower mounted PSU, the right way up with fan vent in the bottom of the case
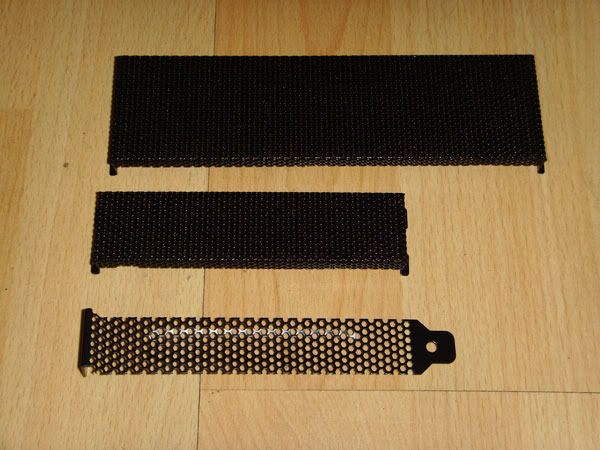
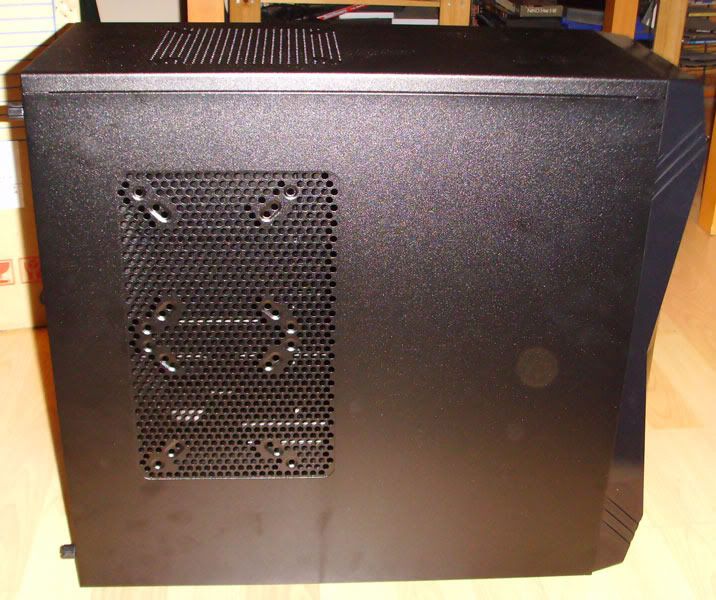
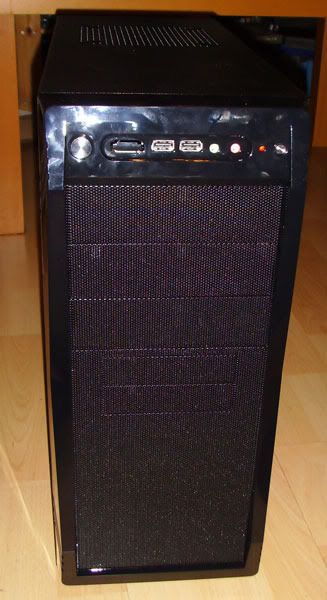
- Mesh front
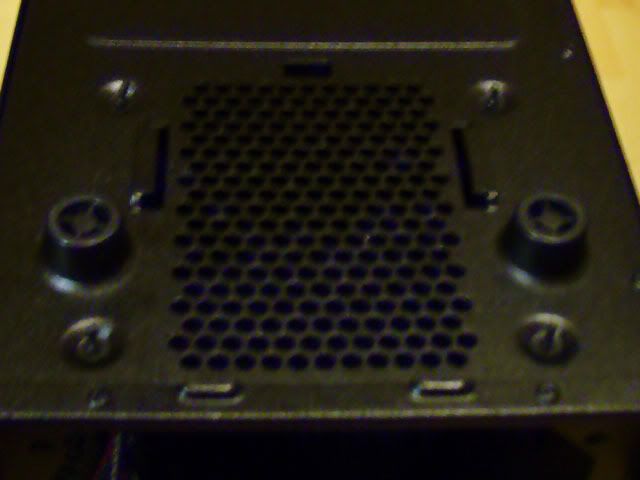
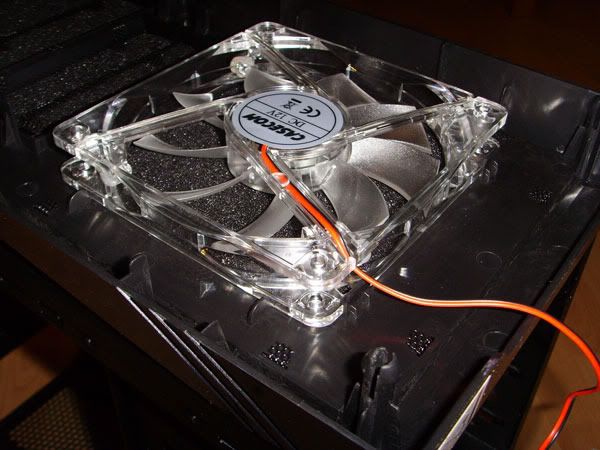
- top fan slots
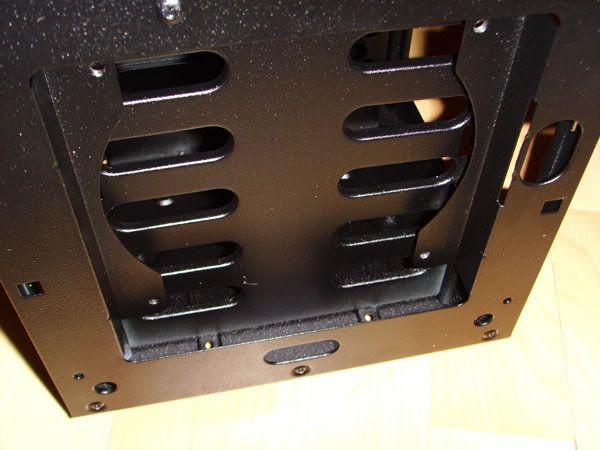
- 90degree hard drive bay with rails or trays
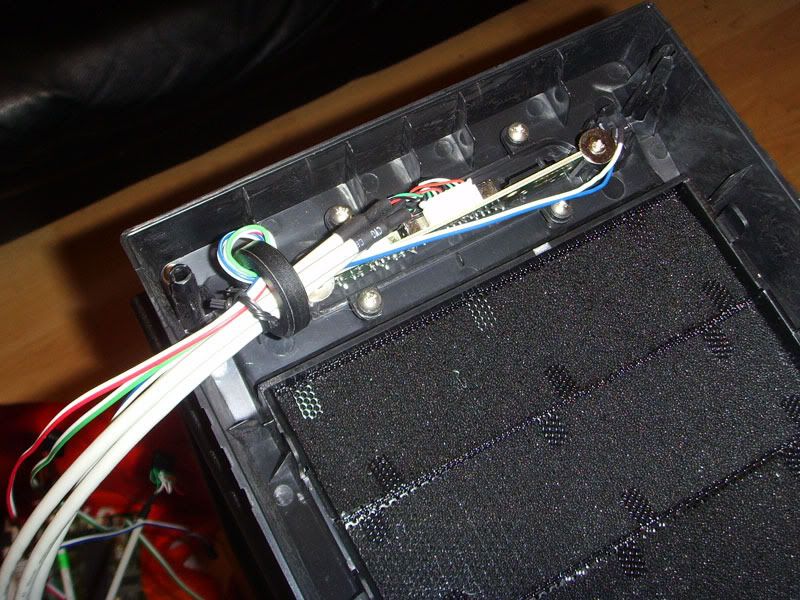
- Mesh front panel
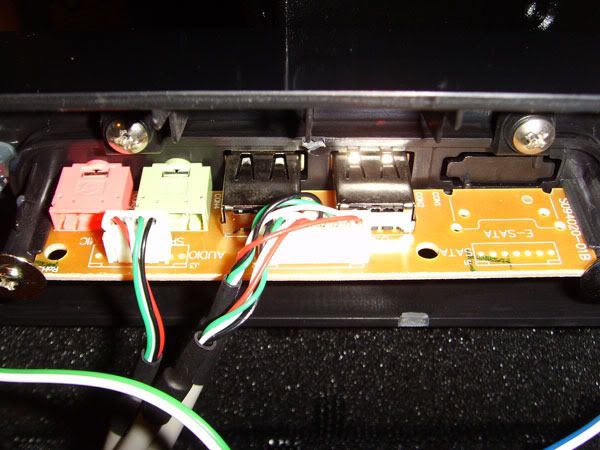
- Front switches and USB ports
- low cost (under £50)
- Black interia (a relative new addition)
- I like the look of it
Now a lot of cases have come close but never quite ticked all the boxes, untill I saw the Casecom of Ebuyer for pre-order at £25 !!!
http://forums.hexus.net/chassis-syst...se-ebuyer.html
It seemed to tick every box and for only £25 I couldn't resist, then followed the delays, not directly Ebuyers fault, well I've finally got the case and finally got around to getting the Camera out to take pictures.


 Reply With Quote
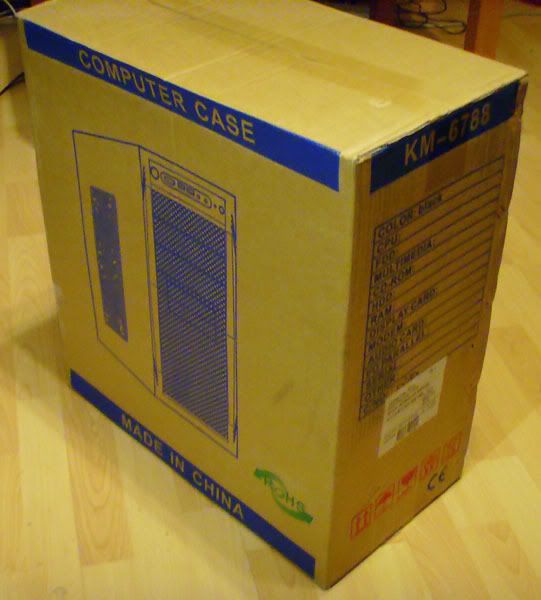
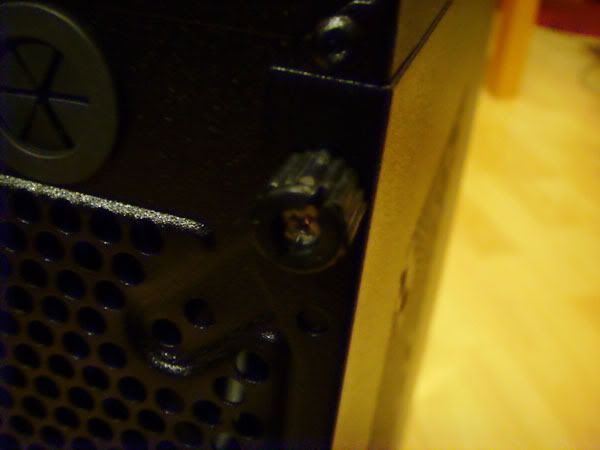
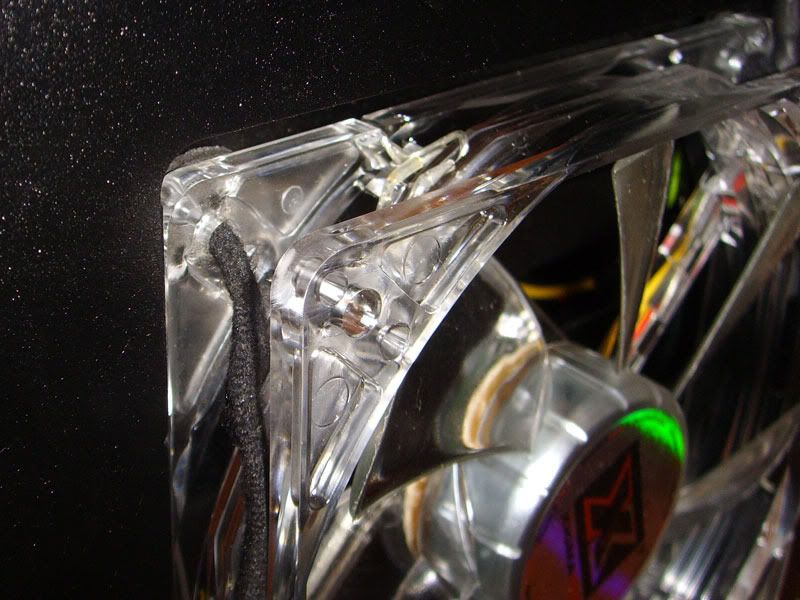
 cold to take the case outside to take these photos.

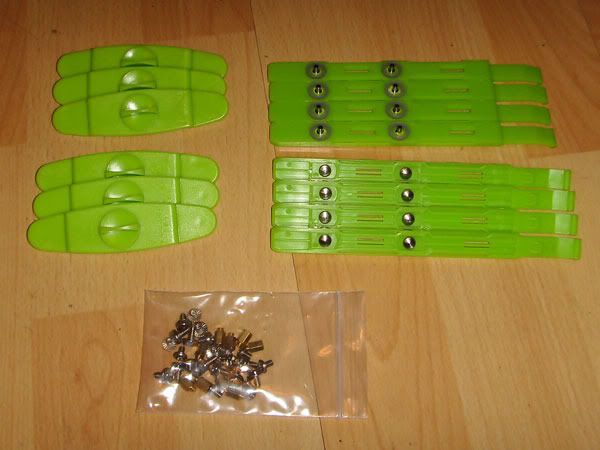
 they do Click well though.


 wow that was easy, lets just try to put them back on . . .
  still easy!