I've not done a full review or set of photos yet, I've been too busy building a system in it
This first post is more my initial impressions and thoughts and a couple of points to highlight about this case
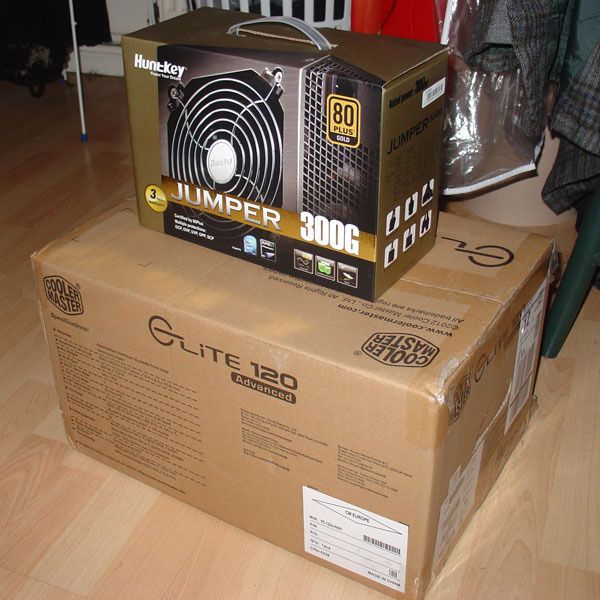
Too start off with this is what I'm going to be looking at
The new Cooler Master elite 120 advanced (no idea if they plan to do another version or why they added the "advanced" suffix to the model name)
I'm also going to look at the Huntkey Jumper 300G in passing, I was originally originally planning to use it in this case but I've since changed my mind about it, more on this later.
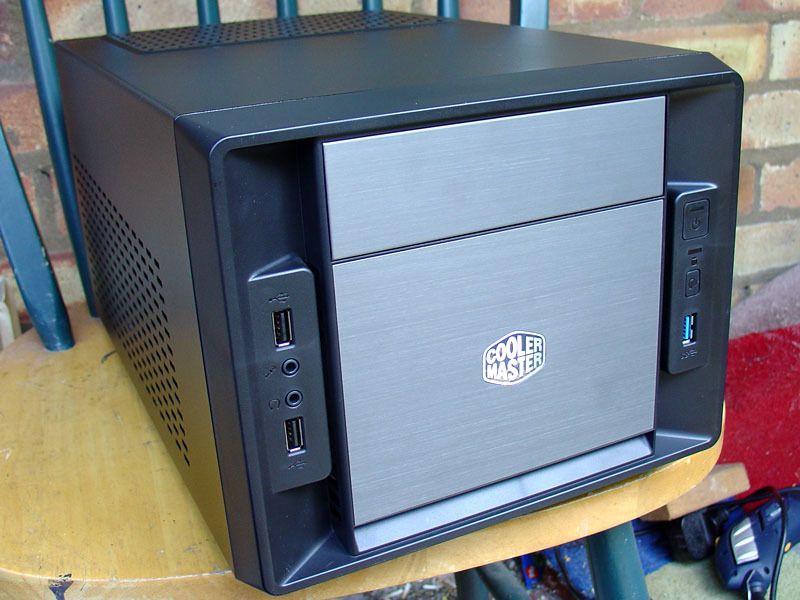
Initial first impressions out of the box, I really like it.
Comparing it to a Shuttle SH61R4, which I've used in a past build, it's slightly wider and a bit longer, not anodised aluminium but the paint finish is good and the steel construction is reflected in the cheap price.
The front bezel is lovelya thin sheet of grey anodised brushed aluminium is stuck onto the front and onto the 5.25" bay cover gives it a really nice touch.
The bezel is a matte plastic which is quite thick (varying between 2-3mm), ridged and solid feeling, which is excellent as removing the bezel is just a grab and pull it off type, I've ripped it off a dozen times now and it's not been damaged in any way.
My only negative points on the bezel are both really minor, I'd of preferred the cooler master logo to be less obvious, instead of a holographic sticker in the middle of the aluminium I've of preferred a more subtle logo formed into the plastic
eg like the way cooler master does it on the blade master fans
My other minor niggle about it is the aluminium 5.25" cover, not the cover it self, it's lovely, just a shame you have to remove it to fit an optical drive, if they had used a flip down cover it would of been great.
Now I'm going to skip over a bit here like the overall structure and layout, I'll probably come back to these later, I will mention that the whole thing has a really solid feel, I'm guessing 0.7mm steel from the feel of it but it might be less and cleverly constructed, but the single piece top/side panel, bottom panel and rear panel all feel more ridged than 0.6mm steel, there's a little flex on the sides if you push on them but not much.
There's an instruction manual, well it's a sheet, but it's a nice addition and does explain some of the features and how to use them quite well, eg cable management, it highlights all the cable tie down points
There's a bag of your fairly standard bits, ie a load of black screws, some cable ties, a little plug in pc speaker and these
I was a little puzzeled over the black things, so checked the manual, they where just called "rivets" then it showed a picture of using them to mount a fan on the inside of the drive cage, these plastic rivets make a lot of sense as you cannot get a screw driver to the inside of the drive cage to use normal screws although using the same long screws that are used to hold in the front fan would of been preferable.
The other thing in that photo is four brass motherboard standoff's, what's special about them? nothing other to note that they are not prefitted but what is special is the little hex wrench you get to screw them in with, this has a cross point slot on the other side so you use it with a normal screwdriver to screw the standoff's in.
That's a really nice little extra I've not seen before.
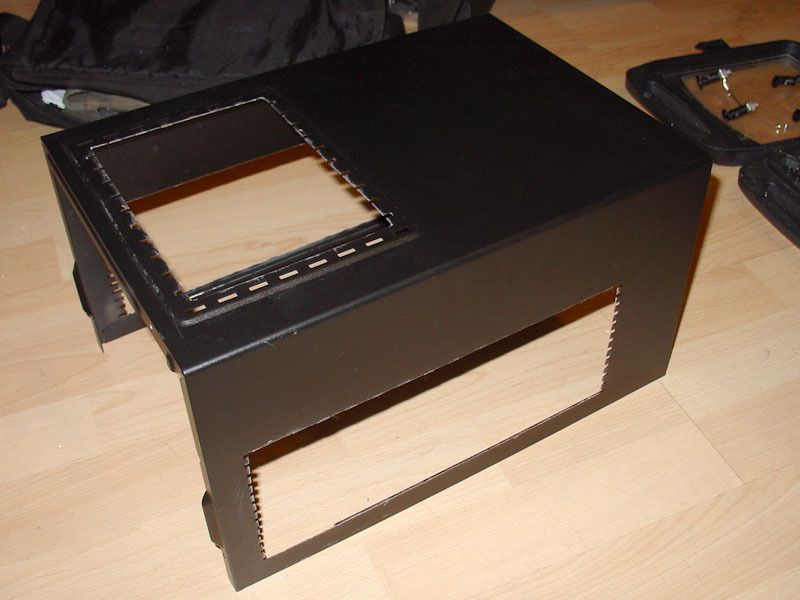
Back to the outer panel, this is one of my criticisms of this case.
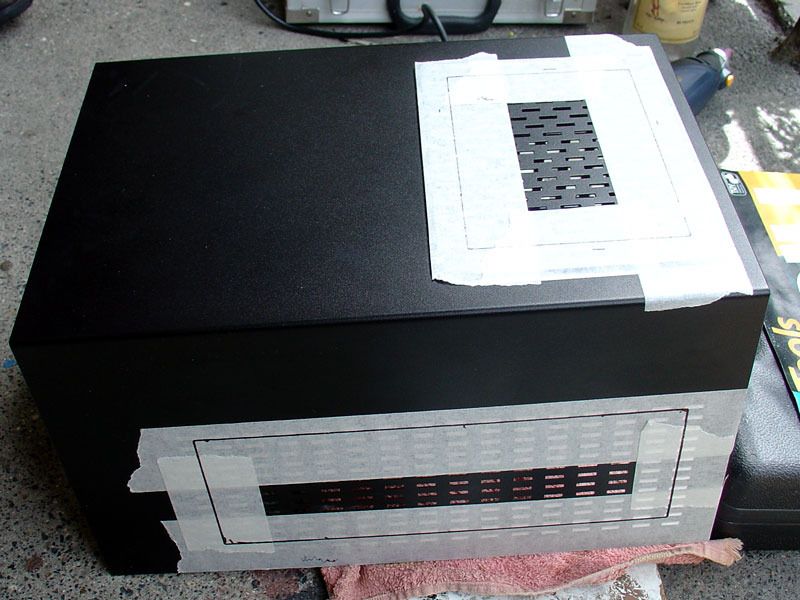
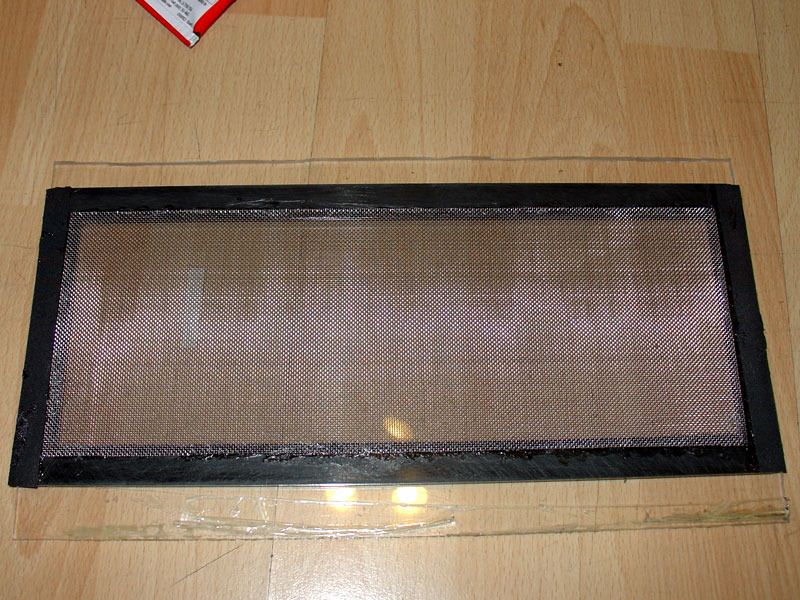
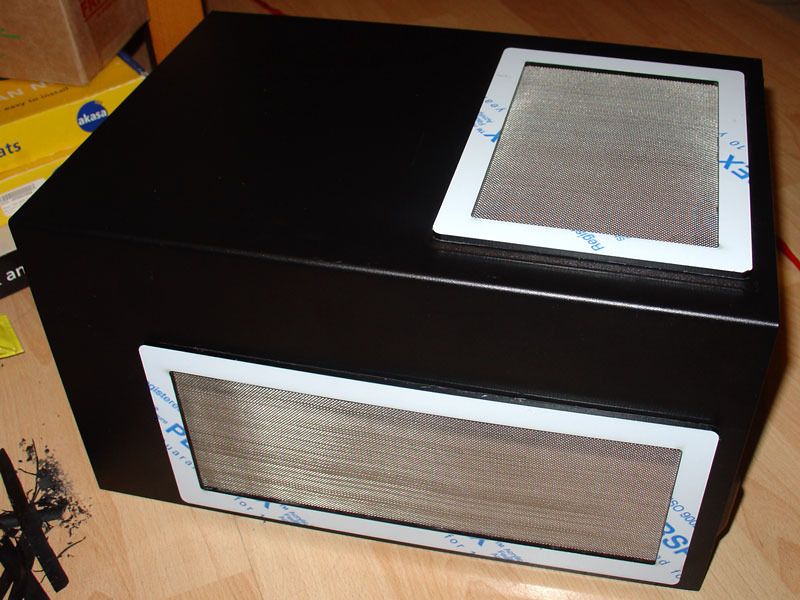
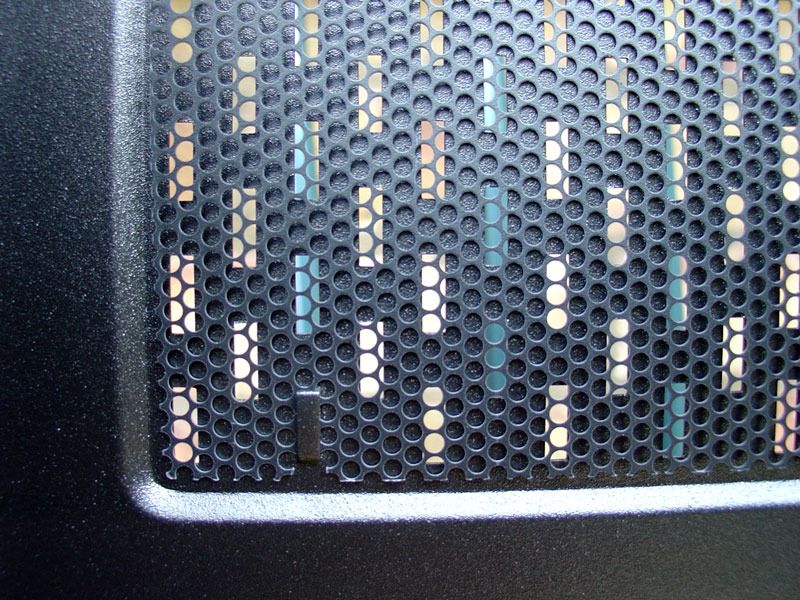
Here you can see a shot of the top vent with it's "filter" now as you can see from this the vent holes are not that large, the raito of the area of hole to surface is about 40:60
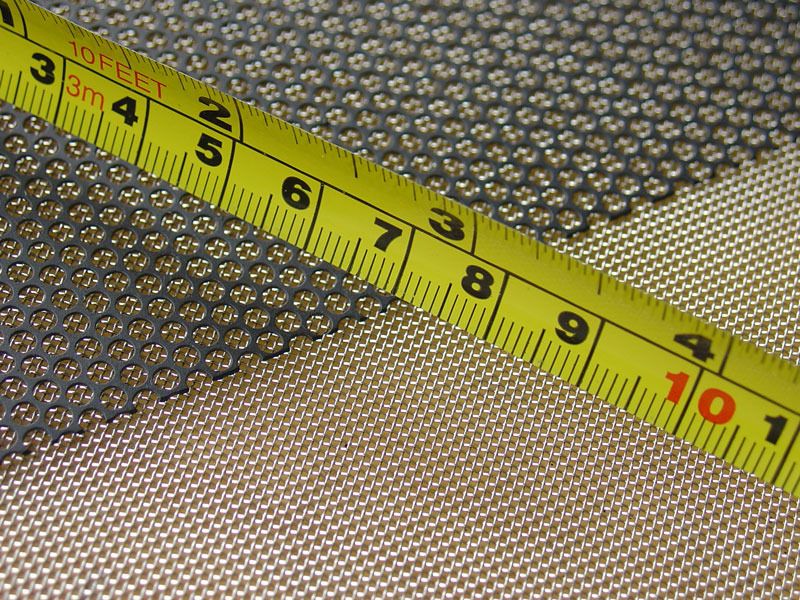
To give you a better idea for that, round hole honeycomb modders mesh is about 60:40 and Hex honeycomb modders mesh is about 80:20
So these vents are not going to be the best in terms of air flow, it should still be reasonable and on my test build I can feel a lot of air getting pulled through, but I think they are restricting the air a bit and adding to the noise (more on this later)
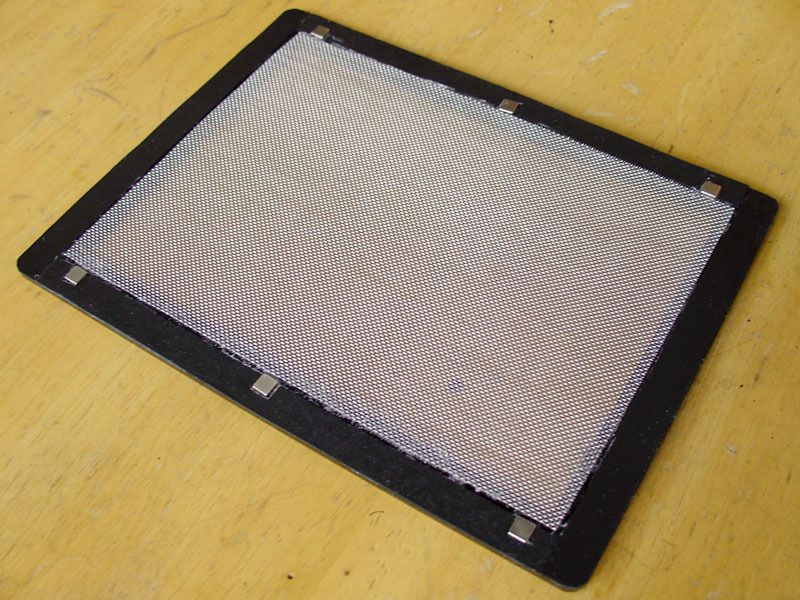
My next criticisms is that filter.
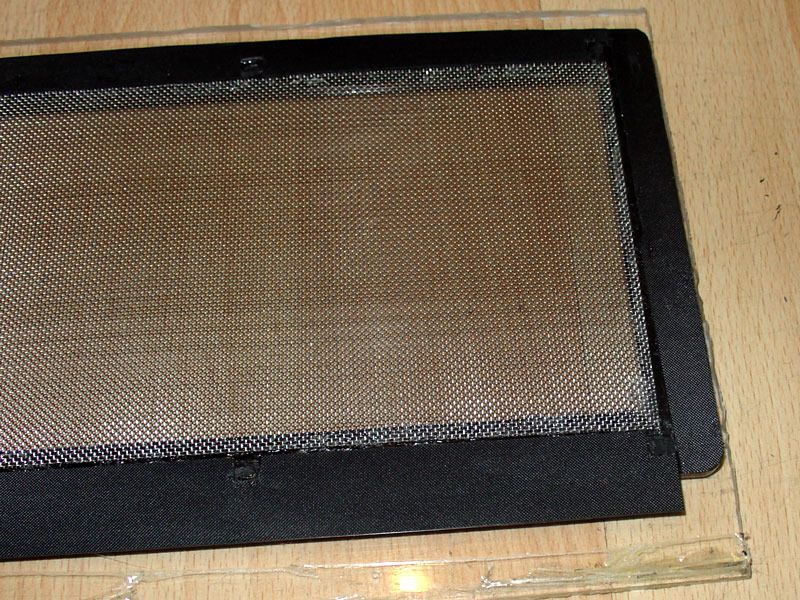
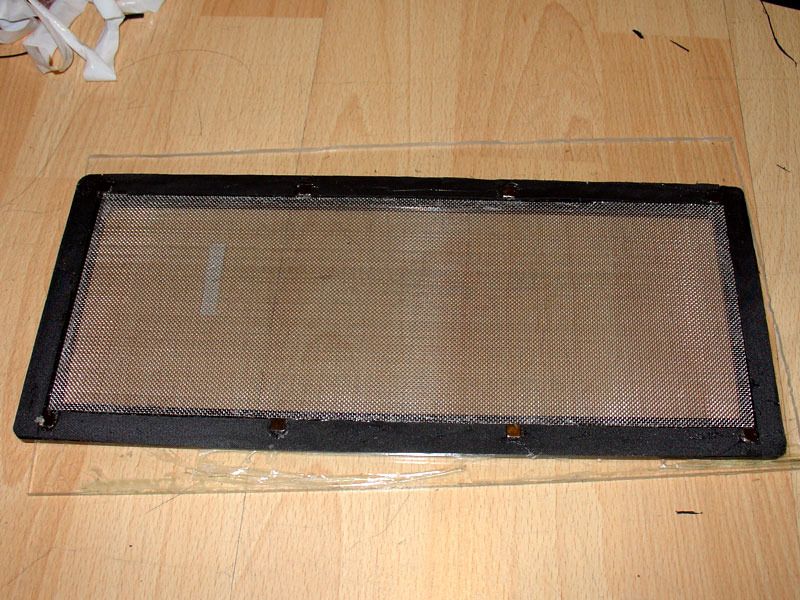
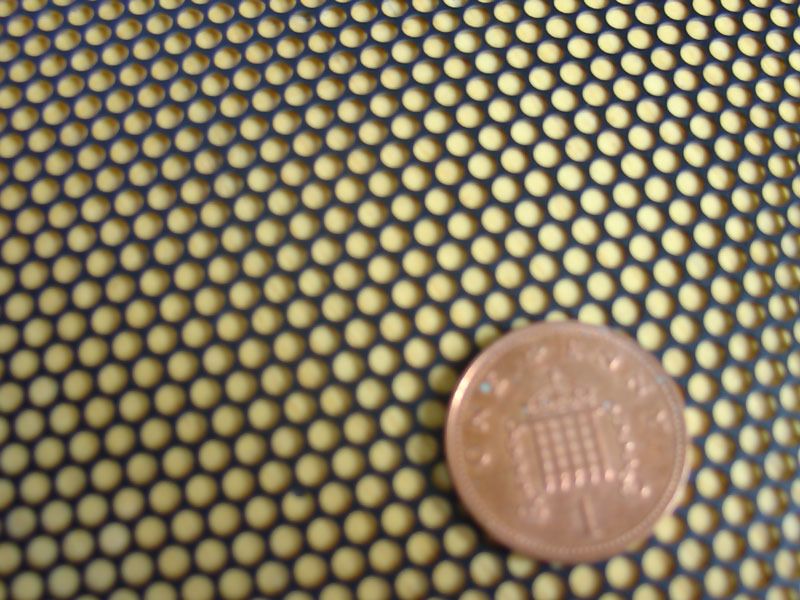
It is a plastic sheet (about as thick and stiff as thin card) and a punched round hole honeycomb, so the ratio or hole to surface is good for air flow, what's not so good is that the holes are ~3mm in diameter, which means I cannot see that really stopping anything much in the way of dust.
So the only filter in the whole case really doesn't look like it's up to the job of filtering.
Here's an out of focus (sorry) photo with a penny to give you a better idea of scale
The vents on the sides while they are identical is slots to the top vent are unfiltered but as it stands I'm loathed to count that top vent as "filtered" ether
On the positive side that top vent is really only for the psu (although it's larger than a psu so some air from inside the case can get out that way) the main intake is the front fan and while there's no filter on it it would be very simple to fit a standard 120mm fan filter to it.
However the 120mm front fan is not the only intake fan
note, I had to play with the level in this photo to make it clear so it's more grey than it actually is
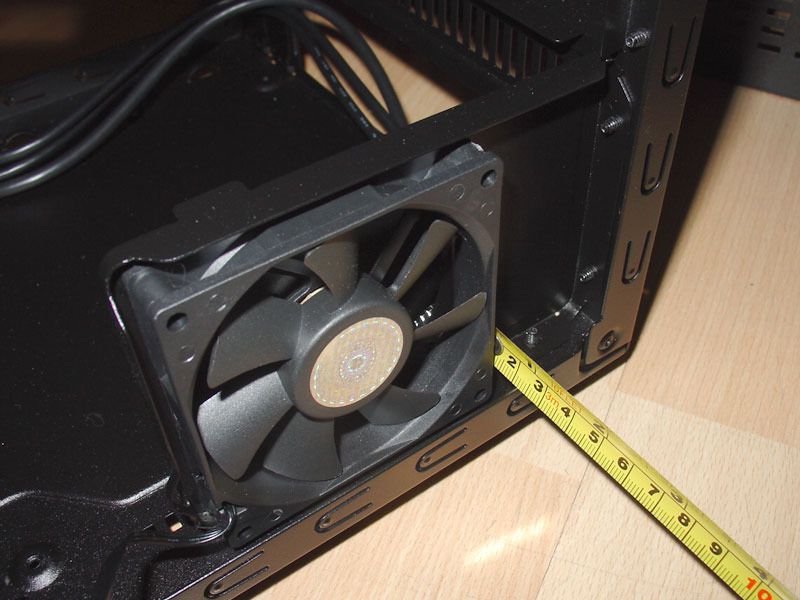
Now I'll admit I'm really puzzled as to cooler master's thinking behind this, not the fan it self, the idea there is sort of obvious a fan next to the motherboard to bring in cool air to the cpu/vrm/chipset area, fine.
But why an 80x80x15mm fan?
You can see from the photo the mounting is a simple metal frame that's held in with screws on the bottom and rear of the case, so you can easily remove it if you don't want it, what baffles me is that they put it 22mm in from the side of the case, which means they could use a standard 25mm thick fan so had to go with a 15mm thick fan instead, to make things worse the distance between the motherboard and the side of the case is 28mm so there should be space to of moved it in 3mm and put a standard 80mm fan rather than this half thickness fan.
Which would of been good because this fan is a bit noisy. (but that's getting a little ahead of myself)
Now I'm going to skip a head again to a working build
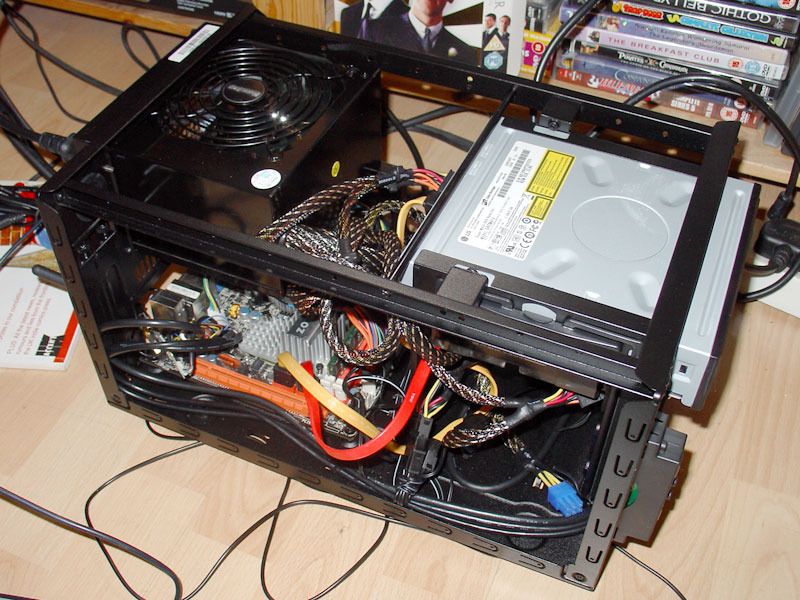
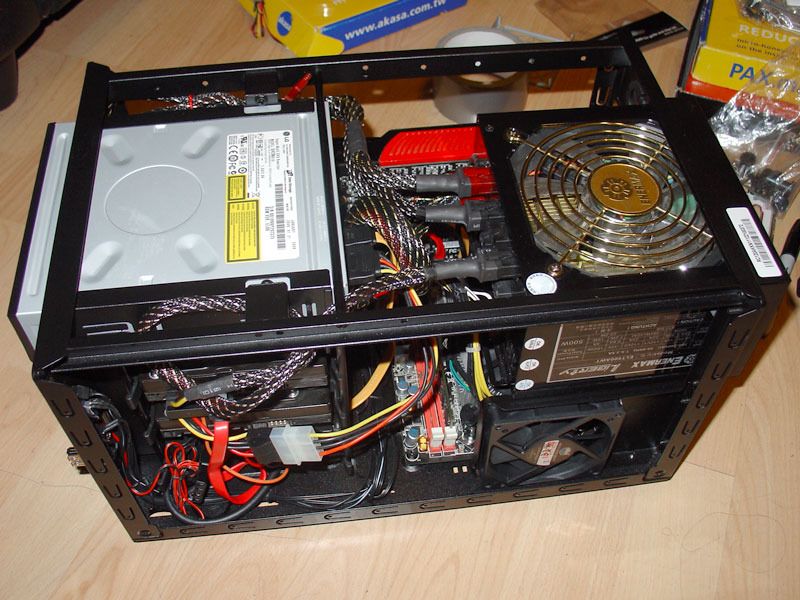
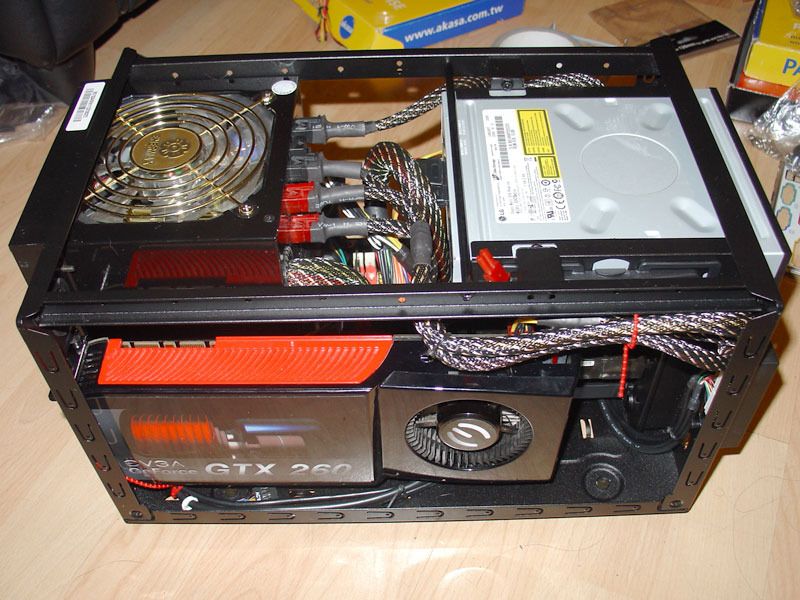
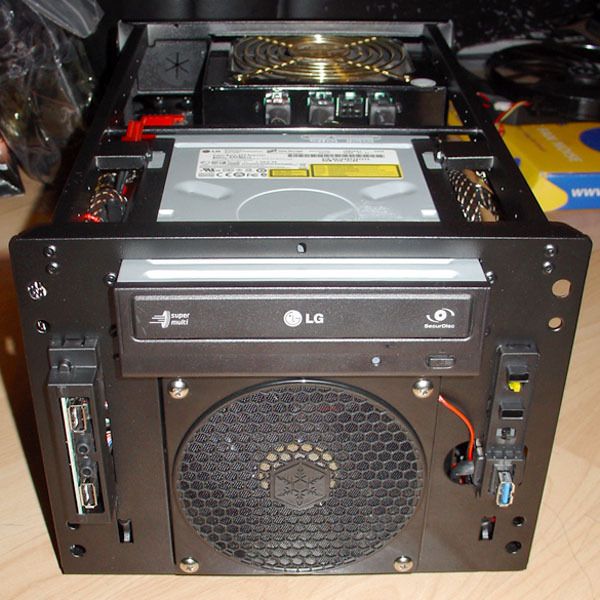
This is not the final build, it's just a rough test build, no cable management, just all the bits stuck into the case to give me a rough idea of what the later full build will be like, what's good, what's bad and give me ideas as to what I need to change or adapt or mod to get around issues.
Overall building in the case is lovely, it's all nice an open, it's easy to get to stuff, cable tie down points all in the right place, the front panel connectors are a little long for the case, however that gives you a bit more flexibility in cable routes without being excessive.
The rails for mounting the hard drives cooler master uses are the best for anti-vibration but they hold the drives securely and the rails are very slightly longer than the hole spacing on a hard drive (0.2-0.1mm) this is actually a good thing, you flex the rail slightly to fit it to the side of the hard drive and then it grips the drive so it doesn't fall off but you can still pull it off with ease.
This isn't new for cooler master, it's their standard system, it works great and you don't have to worry about a rail falling off the drive while you slot it in.
When you remove the bezel all the buttons and connectors are mounted to the front of the frame not the inside of the bezel (as most cheap cases do) so once the bezel is removed it's totally separate, also you can remove and refit it with the optical drive in place (which you cannot on some cases as the case bezel will catch on the optical drive bezel)
Fitting the psu is interesting, I'd advise to do it last, what I did was to remove the bracket, fit it to the psu, feed the cables in through the hole in the back, connect them up, then finally slot the psu into the case, this worked well.
Cable managing a non-modular psu like this one could be a bit tricky, esp if you want to get it out again, so I'd advise releasable cable ties, actually I'd go with releasable beaded cable ties http://ziptieguy.wordpress.com/2011/...es-cable-ties/ for the psu cables
EDIT:One thing I forgot to mention CPU cooler clearance once the PSU is installed looks to be around 70mm
So overall the build went great . . . then I turned it on
Ok a bit over dramatic but one thing this isn't is silent I took me a bit of time to trace exactly what the worst sound offenders where, for a reason.
Now without the bezel or panel on there was a ticking coming from the front fan, an air flow wooshing from the 80mm side fan and the huntkey psu is making a bit of noise, more than an intel c2d stock cooler at idle but not much more.
When I stick the bezel and panel cover on the ticking from the front fan is greatly reduced but the sound from the psu and side fan increased, I put this down to air turbulence as the volume of air is sucked in through the vents, both the 80mm fan and the hunkey psu move a heck of a lot of air considering one is a 80x15mm fan and the other is a psu.
The noise is a whooshing sound, not massively loud but far from a silent case and definitely something I need to look at.
On the huntkey jumper 300G which I said I'd mention in passing, as I've just mentioned, it's not a silent psu the fan run quite fast for a psu and this is when the system is idle (I also noticed it when it just had the fan attached and nothing else) and it does draw in and kick out a heck of a lot of air, most silent/very quiet psu's drop the fan speed to around 600rpm idle, from the amount of air and the noise I'd guess it's around 1200rpm, I've not really stressed it yet but I've not noticed any change in the fan speed ether.
And that is the only down side I've yet to find with it, yes ok it's not modular, but for me modular cables are an added extra not a standard.
You could say that it's got a glossy black paint job but the picture on the outside of the box shows a brushed finish as a negative, given the choice the box picture looks much nicer but the glossy black finish isn't bad ether.
The sleeving is really nice, it's a softer less plasticy feeling sleeving, which you don't see that much esp on low cost units, enermax sleeving is still the best I've seen I just wished they sleeved the whole cable rather than stopping so short, all the sleeves are cable tied then shrink wrapped.
And remember this is a 80plus Gold certified 300w psu for just £39 which makes it the cheapest Gold certified on the market.
All told I'm actually really pleased with it, however I think I will replace it for my final mini-itx build, simply because I've got an enermax modular psu which I think would be better for this case and the enermax leads are actually slightly shorter.


 LinkBack URL
 About LinkBacks



 Reply With Quote


 I picked up one cheap off fleabay it's about 1 or 2mm too tall (also it's about 74mm not 76mm tall)

