Well, a great big box arrived on Tuesday but sadly I didn't have the time that evening to get started. Last night I got stuck in though, and opened the box!
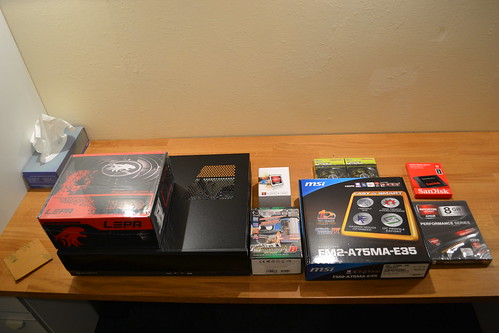
I found this stuff inside.
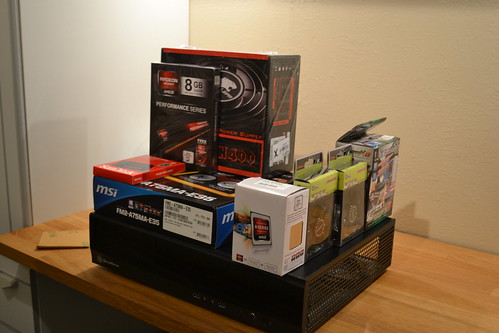
However, as this is for a review and not just for me to drool over, I thought I best rearrange them into a more funky format.
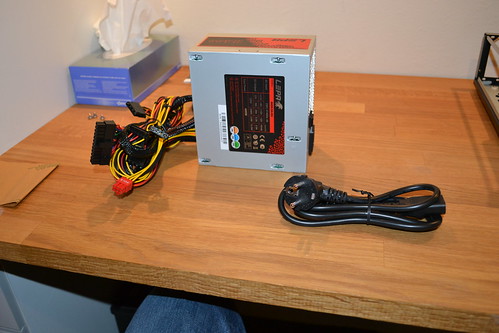
Having satisfied my artistic needs for the moment, i decided to open some boxes and see what lay within. I spotted one immediate problem.
Thankfully I have no plans to use my own kettle for a few hours, so I can circumvent this problem.
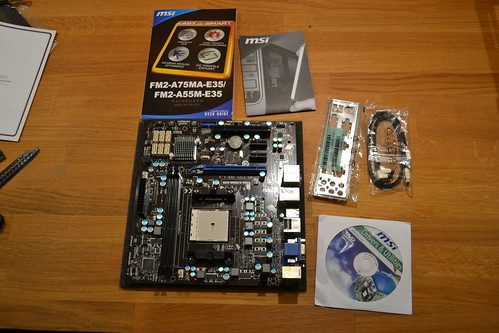
Everything else looked pretty good, but here's a quick shot of the mobo as I really quite like it. There's plenty of space on such a small form factor and it's altogether rather pretty, shame it's stuck away in a case tbh.
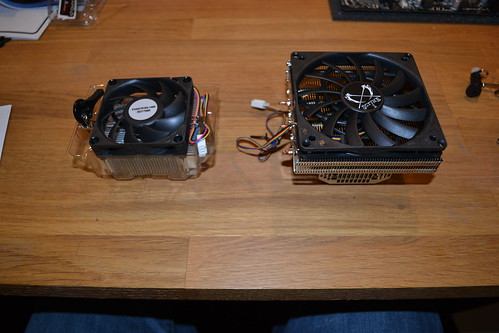
Finally, heres a shot of the supplied AMD heatsink and fan sitting next to the aftermarket cooler
Theres a fair bit of difference there, and the Scythe looks the business.
So, on to the build itself.
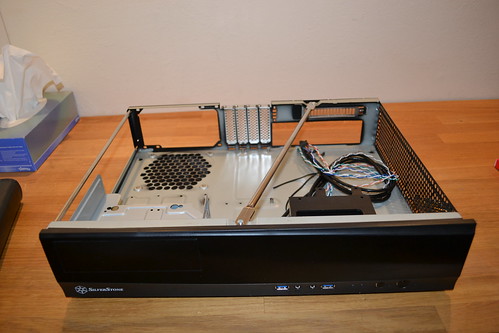
First, I would like to say, that this has been the most frustrating build I have encountered, more on that as we progress. I unscrewed the top of the case and separated out all the cables, checking what I had. USB 3 cables with adaptor, power, audio, reset and HDD LED cable. All pretty straightforward. Theres a rather strange plastic device sitting at the front of the case and no I/O cover, which are fairly useless when they are supplied by the mobo manufacturer anyways.
This is where i made my first mistake. I didnt check the riser positions on the case. One didnt match up, 2 more are stuck out to the side where they can't be used. The case is only supplied with one additional riser, it really needs another for support near the power connection.
I installed the PSU with no issues at all, straightforward and easy as you like.
I moved on to placing the I/O cover on the rear of the machine. Usually this is a case of placing one hand firmly on the rear of the case and clipping the I/O cover into place, simples. Unless the rear of the case is made of aluminium so thin that you are in great danger of bursting through it if you exert even the minimum of force on any one point. One corner of the cover was proving tricky to push in and I thought the whole back of the case was going to come away when i pushed down on it.
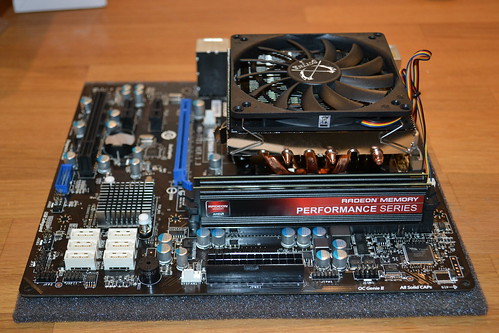
I then installed the processor and RAM onto the mobo. The aftermarket cooler comes with a little bag of thermal paste, rather than a tube, but theres plenty of it and its easily applied, kind of sticky and slidy at the same time, but not so much its all over the place. Its some of the better stuff I have used. Its a good idea to install the RAM before the processor as its not low profile stuff and the cooler does get in the way, its possible to squeeze it in afterwards though. The cooler comes with 6 clips, which had me scratching my head, but its for 3 different ways of connecting it up, depending on the mobo. The rather complicated design is actually very simple to fit and remove, and actually doubles as cable management once locked in place, happy accident rather than design i believe.
Motherboard time. I had it in and out a couple of times as I realised i needed the extra riser supplied for the PSU end of the case, then daftly put it in the wrong socket. Once in it was fairly sturdy, except under the power connector, which when attached, caused the mobo to bend alarmingly. Due to the plastic weird thing at the front of the case, its not easy to stabilize it when you connect it.
Fan time, and the start of the frustration - In fact it was really all of the frustration, it just led to me being frustrated over simpler things that actually weren't incorrect. The 2 additional fans look really good, they are shiny and colourful and sturdy. The four corners of the fans have screw holes in them and are slightly angled, apparently at a different angle to the side of the case. Then there's the screws, which are too big. They fit the side of the case ok, but in order to screw them into the fans you need to use an inordinate amount of force (and you can't use the back of the case for purchase or it will cave in....) I must have spent an hour on these 8 screws. I got the four bottom ones in fine, flush against the case, but the top ones were just ridiculous. Poor design on these. I kept second guessing myself and making sure they were in the right way round and so on. I tried 3 screwdrivers because I thought possibly one was too small, another was possibly partially stripped (cheap set) but on the 3rd i found i was actually stripping the screwhead with the driver, terrible screws, just terrible.
Anyway, i took a break from it and came back to it today. Finished installing the fans (screws sticking out along the top of the side casing, except one.....). I moved onto the SSD. It seems the strange plastic thing at the front of the case is an HDD caddy. It has 4 very specific screws (which i missed and spent 15 minutes trying to fit smaller ones to, see what I mean about frustration...) packaged separately, which mount SSD on top at the front of the case. There is some method of attaching other drives but at this time I won't attempt it. Once its installed back into the case its pretty good for cable management.
With everything that I could connect connected, i powered it up, no joy, so then I checked my connections again and found that the APU power was not connected and I had no suitable connection. Took me a bit to realise that the 8 pin connection was actually two 4 pin connections. I've come across it the other way, where you have a 6 and a 2 that you place together, but never one where you split the solid looking 8. After that it powered up, took me to a setup screen and that folks, is where I am at right now.
Overall, it's a fairly nice setup. I am pretty glad that it wasn't my first as there were just too many unclear areas of the procedure. Please bear in mind that I am attempting to be objective too, as yes there are flaws, but I got this for free thanks to the generosity of AMD and HEXUS, and i'm loving every moment of putting this together.
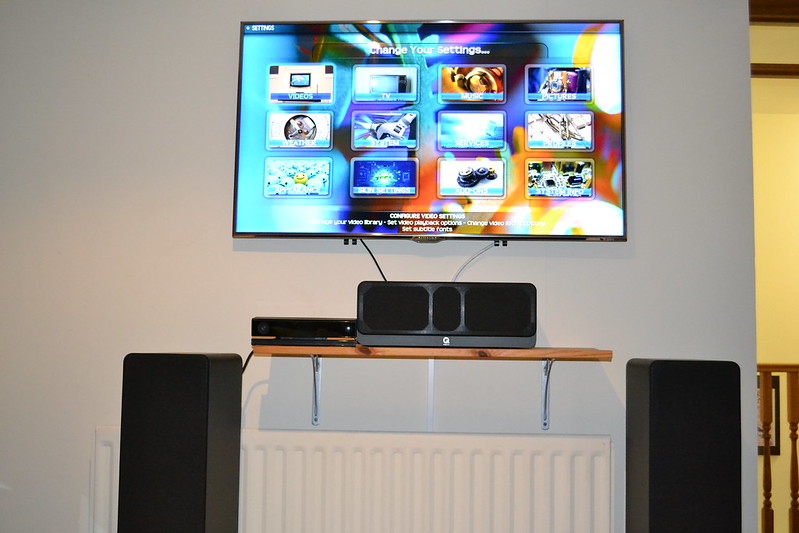
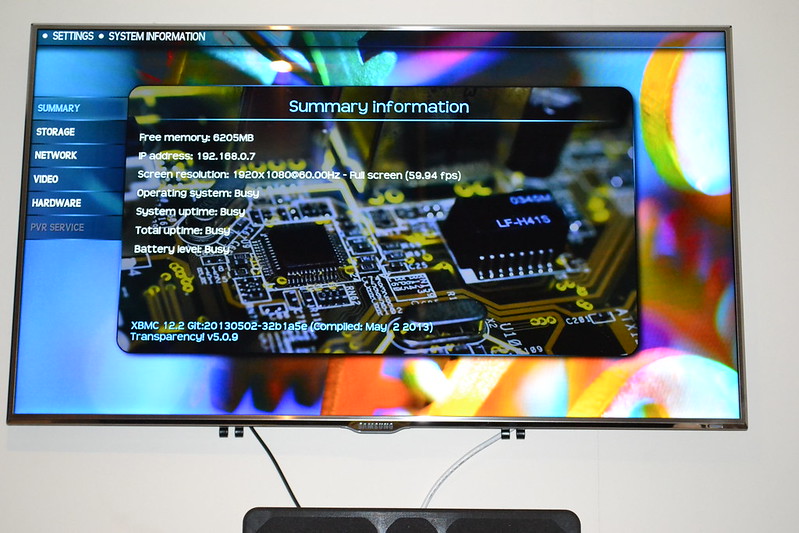
This review is obviously not complete and is currently more of an installation guide than a review. The hardware is setup, but I still have not decided on a software path. I am considering installing a Linux Distro simply because I have never used Linux, or I could put any version of Windows on it, even considering Windows 8 due to it being an HTPC and will probably just run some version of XBMC or similar.
Saying that, I would love some suggestions as to how to implement this. I would take pictures of my setup, but currently my mate is moving house and that room is rather cluttered.
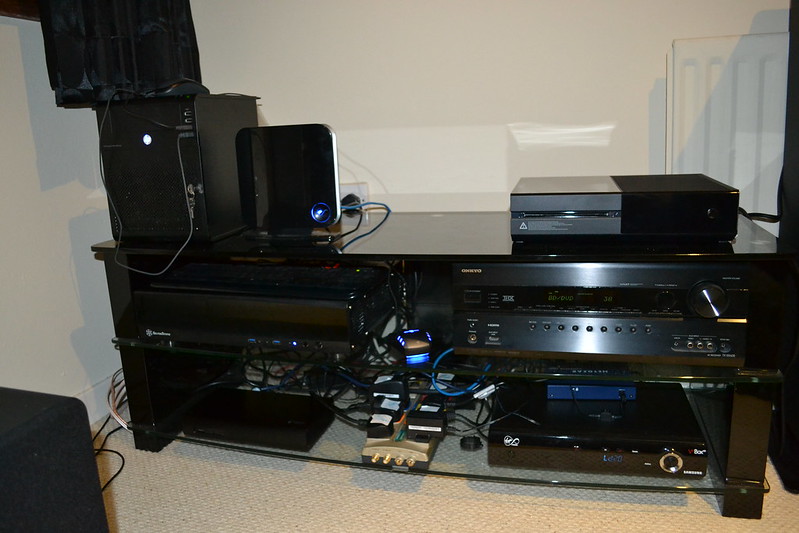
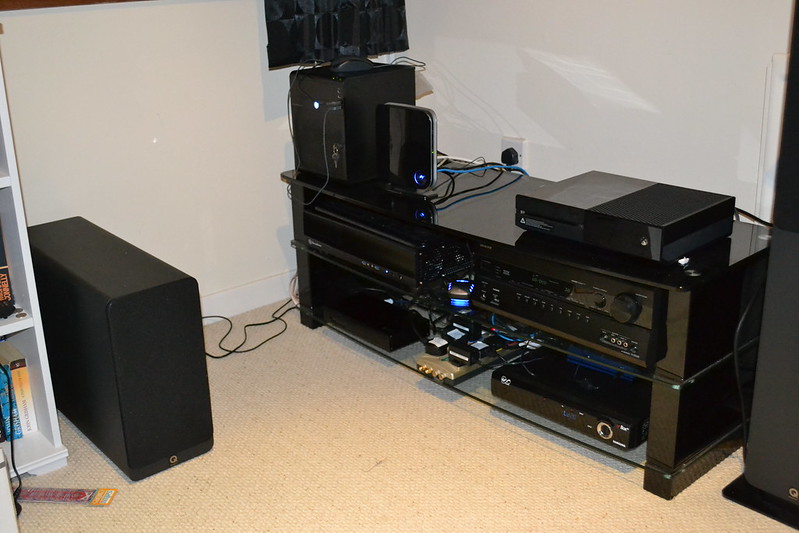
I plan to have this connected to an Onkyo 608 AV receiver, replacing a Popcorn Hour PCH 200, but sitting alongside my server (HP microserver 54L) running 2008 R2, an Xbox One running...nothing as there aint much available (its still a great piece of kit though). Its also where my switch, superhub and so on are located. Through the AV receiver it will link up to my Samsung LED TV (UE46D8000). Having never had an HTPC before, I don't know whether the HDMI on the board will xfer sound and if so, at what level, 7.1 would be nice.
Suggestions and Criticisms below please (lets leave the Xbone out of this)
More to come once software has been chosen.


 LinkBack URL
 About LinkBacks


 Reply With Quote

 ) - 437 on Firestrike sounds about right to me, given this is the lowest-end Richland APU. You've only got a dual core, 3GHz CPU with 128 shader IGP, it's not going to monster the latest DX11 games, which is what firestrike is intended to represent.

