I needed to refurb one of my alloy wheels (I need to refurb them all actually) and have 1 spare one so started with that... I got instructions from a friend and this is the first refurb of an alloy wheel I've ever done...
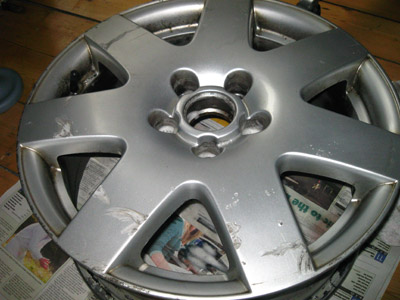
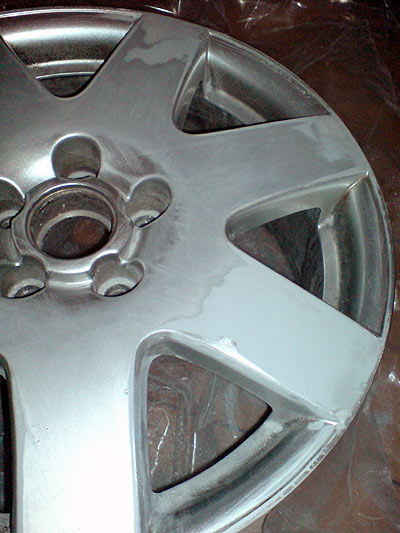
Before:
Although the pics a bit naff, the wheel has: Lots of kerbing, scratches, dents, bubbles in the paint etc.
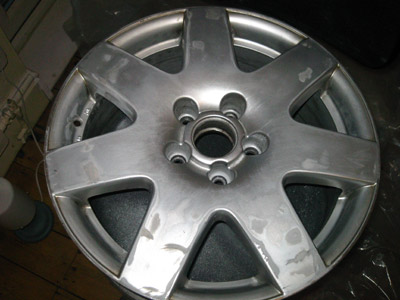
First step: Sand all down with 80, fill dents, scratches, kerbing etc (with david's isopon filler from motorworld), sand 80, then 240:
** clean wheel like mad! ** (sugar soap spray is good at removing dirt and grime, or clean in the bath, but be careful not to mark / knacker your bath!)
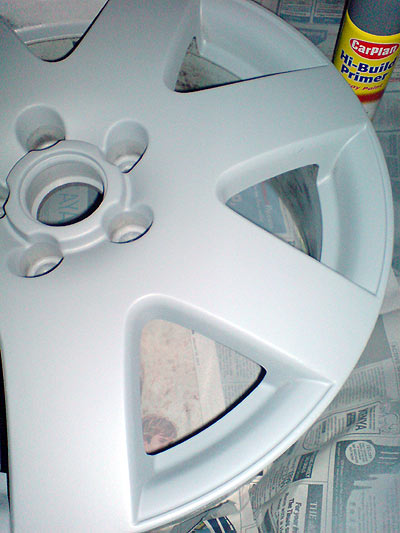
Second step: Spray with hi-build primer: (1 light, 10min wait, 1 heavy coat, 10 min wait, 1 heavy coat - same process for all spraying: primer, paint, lacquer)
Allow to dry over night
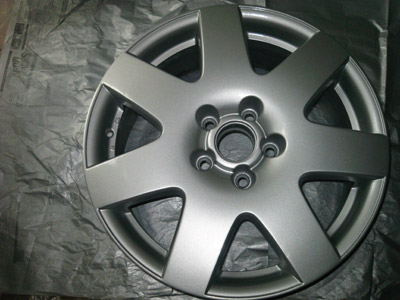
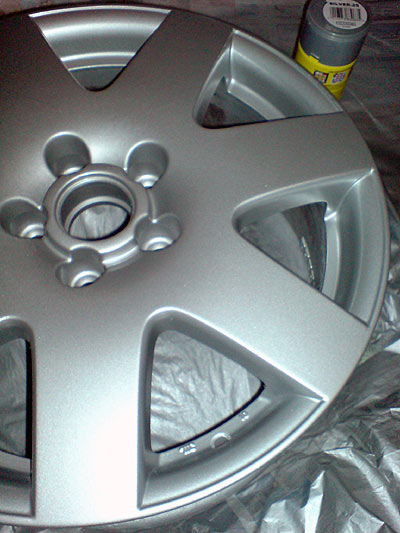
Third step: Sand wet (with some washing up liquid) 1000 wet n dry, then you can spray with silver spray paint:
Allow to dry (30+ minutes)
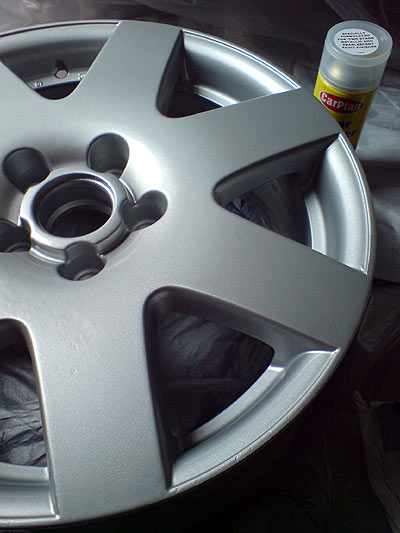
Forth step: spray with lacquer.
Optional step (but a good idea) - "finish" the lacquer - with very fine wet and dry (eg 1500 / 2000) to remove any roughness, then using something like Scratch X to remove any marks left by the sandpaper.
Then polish and admire your handy work
Lessons learnt:
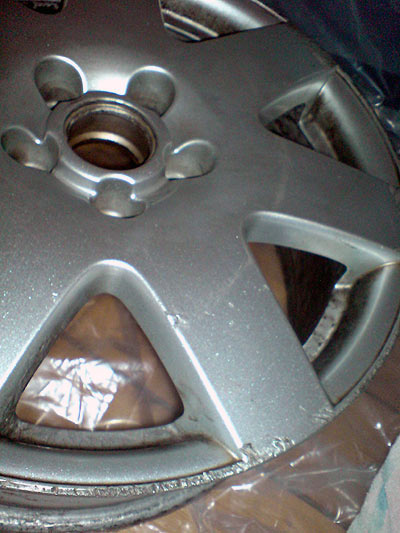
- Always test sprays on something else prior to wheel - I had a bad can of lacquer that didn't spray - it just dripped on the paint and melted it away, meaning I had to re-sand / re-spray that area again leaving some small wobbly bits as can be seen in the last pic(I could have resanded down and re-filled but was impatient and didn't want to take it back down to the primer stage).
- If you get small hairs in - don't try removing it when wet! This will bodge surrounding area and you'll need to respray / resand / refill area potentially taking it back to primer stage. Apparently it's easier to remove when dry (obviously I learnt the hard way)


 LinkBack URL
 About LinkBacks


 Reply With Quote


 they should be pollished, sandbalsted, or powdercoated
 )
)


