Page 3 of 3 FirstFirst 123
Results 33 to 39 of 39

Thread: Project - Dichotomy (Finished)

  1. #33
    Senior Member Pob255's Avatar
    Join Date
    Apr 2007
    Location
    The land of Brum
    Posts
    10,143
    Thanks
    608
    Thanked
    1,226 times in 1,123 posts
    • Pob255's system
      • Motherboard:
      • Asus M5A99X EVO
      • CPU:
      • FX8350 & CM Hyper 212+
      • Memory:
      • 4 x 2gb Corsair Vengence 1600mhz cas9
      • Storage:
      • 512gb samsung SSD +1tb Samsung HDD
      • Graphics card(s):
      • EGVA GTX970
      • PSU:
      • Seasonic GX 650W
      • Case:
      • HAF 912+
      • Operating System:
      • W7 Pro
      • Monitor(s):
      • iiyama XB3270QS-B1 32" IPS 1440p

    Re: Project - Dichotomy (Finished)

    Update

    This update was originally posted from Dichotomy itself.

    After using this for a bit (doing final software installs and setup) I decided I needed a hard drive activity LED.
    I dug around in my cupboard-o-stuff and I found I had a nice rectangular hdd led, with lead and connector, which I'd salvaged from some case, at some time in the past.
    I keep all this sort of random stuff in bags in a cupboard for just this sort of occurrence


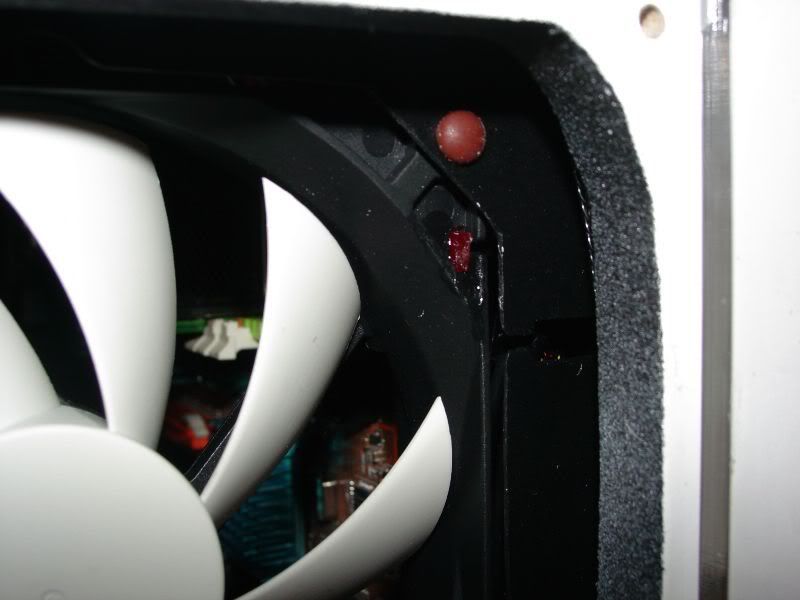
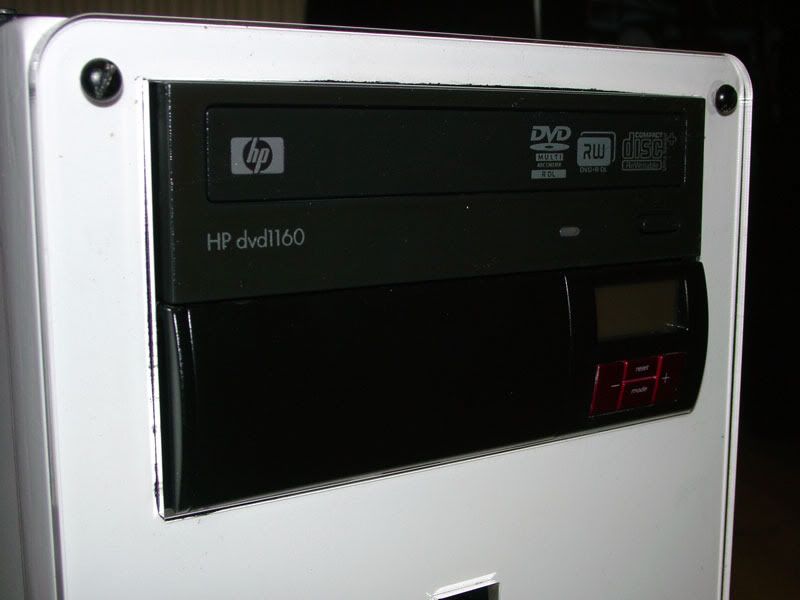
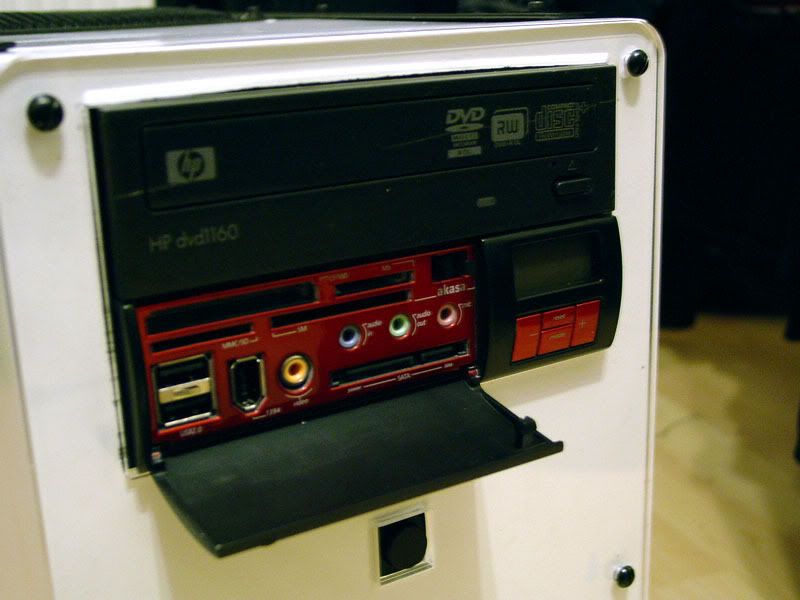
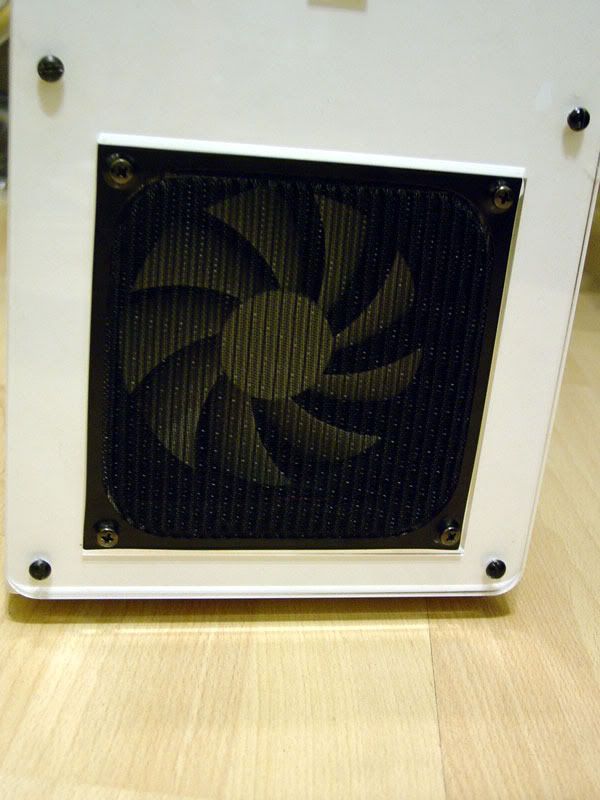
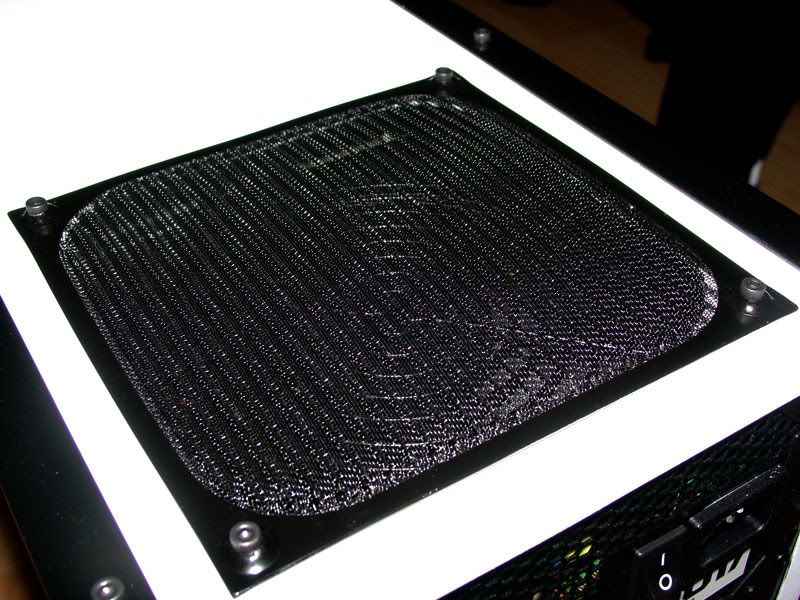
    I was wondering where to put the led when I spotted this handy slot in the fan, add a spot of UHU to glue it in place.


    One working HDD LED.

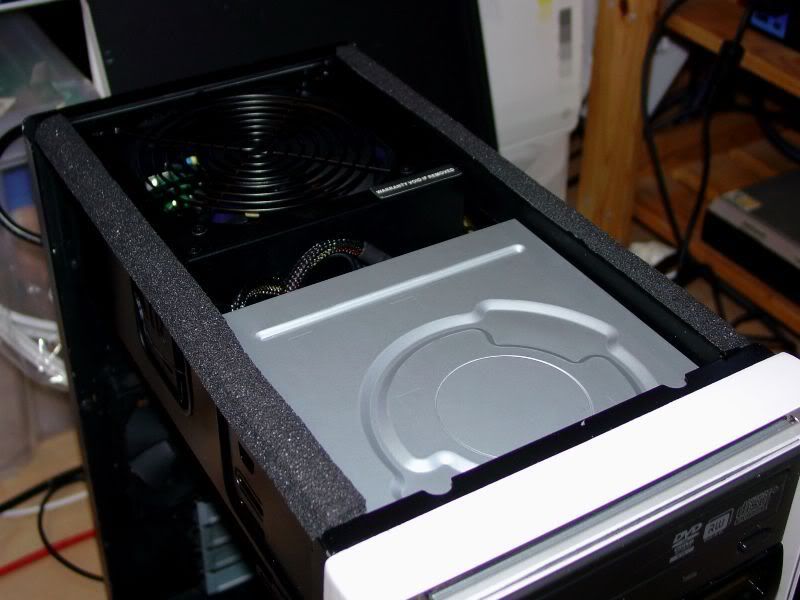
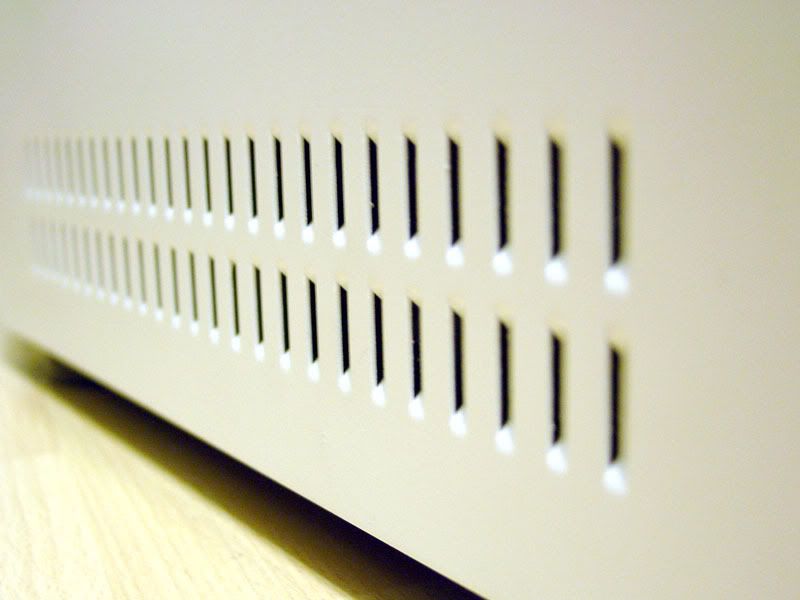
    While I've got the case apart again, I need to sort out a small resonance issue, the top panel is picking up vibrations and making a huming noise.
    Out come the old multi function Akasa Paxmate.


    For those of you who are unfamiliar with Paxmate it's a rubbery, sticky backed, sound damping foam made by Akasa, from the reviews I've read it's not as good as Acoustic.
    I've used it quite a bit before and one thing I do know about it is that because it's made from a foamed rubber material it's actually excellent in itself as an anti-vibration material, heck I've used this stuff for all sorts of things, always keep any offcuts.

    It was a little thick so I've had to carefully halve the depth of it with a craft knife and now there's almost no vibration in the top panel.

    Again at the same time.

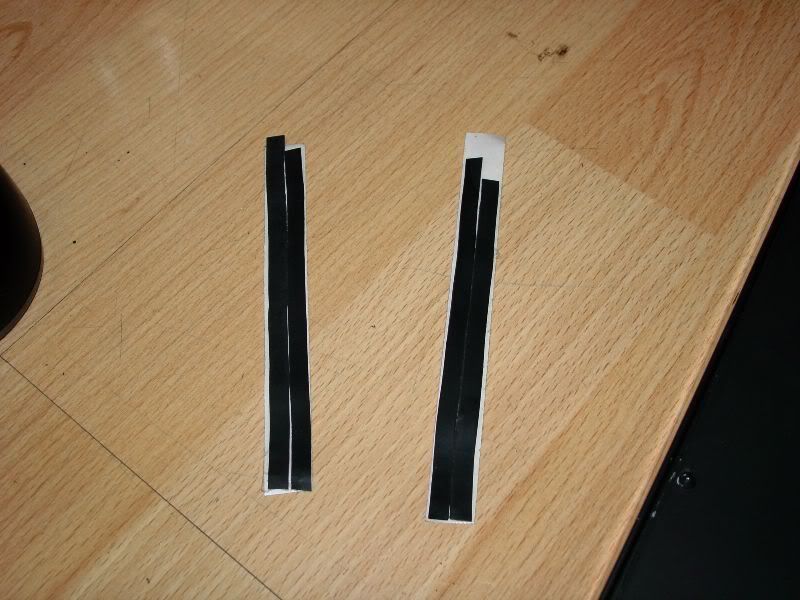
    What's this? It's four lengths of latex rubber edging trim, came from an ebay shop that specialises in rubber clothing.
    eg

    that's the best worksafe image I can find

    And before anyone says anything, no I'm not planning on making a gimp for modding, I got this stuff as a handy way to reduce vibrations in all manner of pc components and it was the only source I could find for strips of plane rubber.


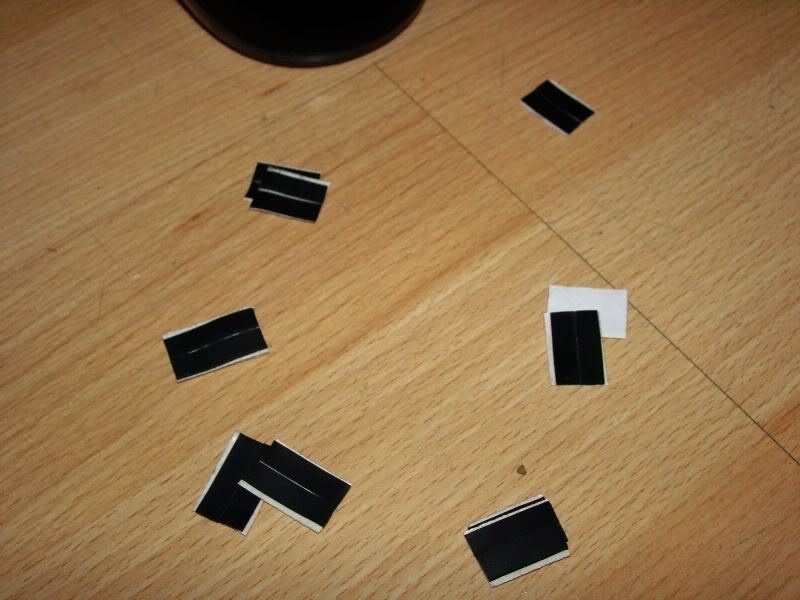
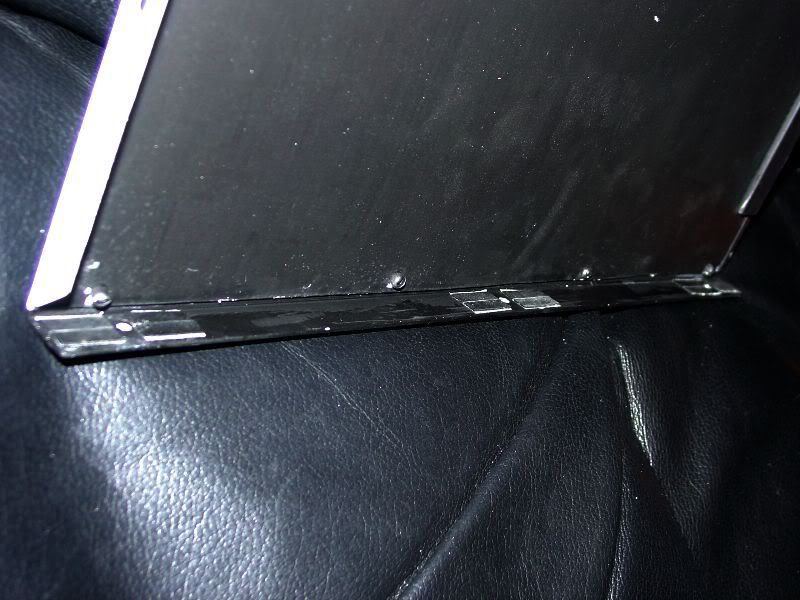
    I stuck the rubber down to double sided tape, however I've not got enough of it left so I had to cut it into shorter lengths.


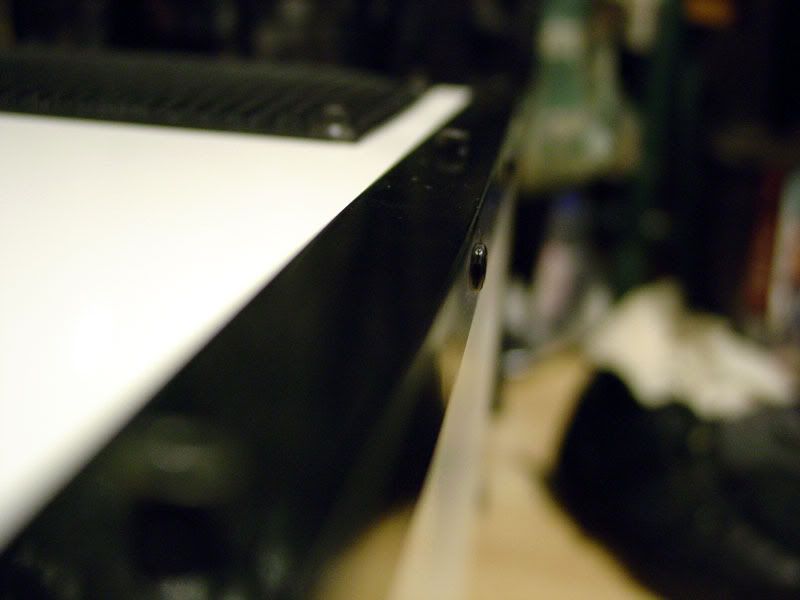
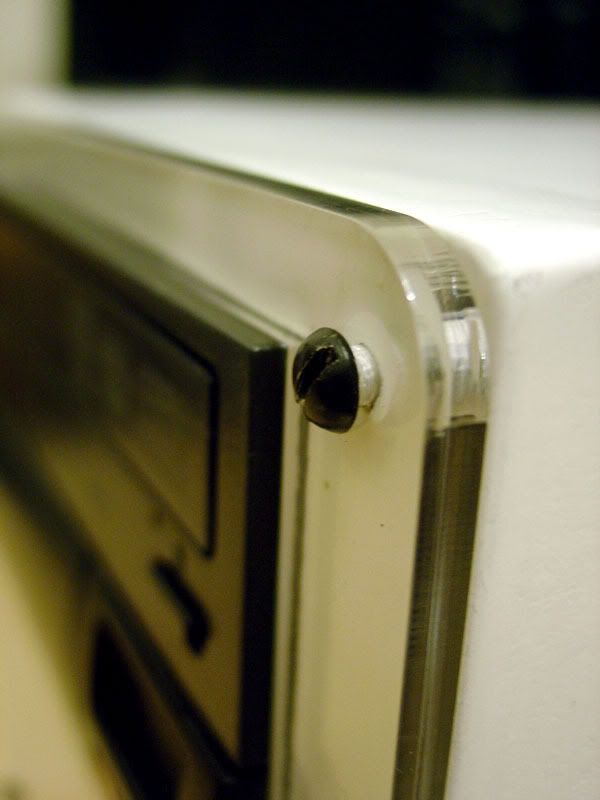
    I then stuck them down ether side of each screw hole of the edging strip on my two side panels.

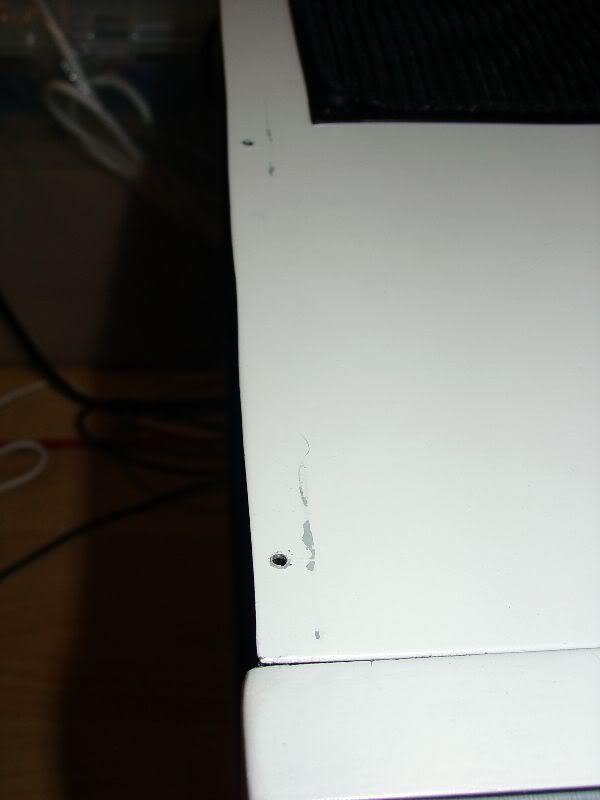
    Why am I doing this? well in part to help isolate the panels so they don't feed vibrations to each other, also to protect the paint on the top panel.

    Ok the damage has already been done so it's a bit of a "closing the stable door after the horse has bolted" situation, but I don't want it to get any worse.
    I did do a spot of touching up to repair this damage.

  2. #34
    Senior Member Pob255's Avatar
    Join Date
    Apr 2007
    Location
    The land of Brum
    Posts
    10,143
    Thanks
    608
    Thanked
    1,226 times in 1,123 posts
    • Pob255's system
      • Motherboard:
      • Asus M5A99X EVO
      • CPU:
      • FX8350 & CM Hyper 212+
      • Memory:
      • 4 x 2gb Corsair Vengence 1600mhz cas9
      • Storage:
      • 512gb samsung SSD +1tb Samsung HDD
      • Graphics card(s):
      • EGVA GTX970
      • PSU:
      • Seasonic GX 650W
      • Case:
      • HAF 912+
      • Operating System:
      • W7 Pro
      • Monitor(s):
      • iiyama XB3270QS-B1 32" IPS 1440p

    Re: Project - Dichotomy (Finished)

    Update: OK I'm all done now


    I've made up a logo for this project.

    Just in case anyone has been wondering why I picked the name dichotomy?
    Quote:
    di·chot·o·my [dahy-kot-uh-mee] : a division into two mutually exclusive, opposed, or contradictory groups
    I was originally planning on calling it Noir, however that name, while fitting for a black&white colour scheme build, just felt a little too uninspired.
    While doing some reading up on the term "Black & White" I came across the term "false dichotomy" which means to think in, or to make a statement in, black and white terms.
    Also it triggered something in my brain, I seem to remember reading a thing about film noir that talked about the dichotomy of light and shadow.
    For a black and white colour scheme the name fits.

    I not done anything major, mainly setting up software and such, a couple of minor paint touch ups and wiring up the audio to the front panel.

    Akasa customer service had sent me a reply, saying that they'd forwarded my inquiry onto the technical department, but as I'd still not heard anything back I sent them another e-mail, again the customer services was pretty fast getting back to me, saying they'll chase it up.

    They have got back to me to say that the All-in-one version2 internal cable is not compatible and sent me a link to a motherboard header to audio socket adaptor.
    I think it might be eaiser to make my own, however I'm out of time, so I've gone with a simple backup method.


    I've run the audio cables through the case and used a simple dual output adaptor so sound out will be feed to both the front audio sockets and speakers at the same time.
    It's a sort of quick and dirty solution, but it's a solution I've used before to have a headphone/mic head set plugged in at the same time as speakers before when front panel audio jacks are not working.

    And now for a few fancy photo's . . . well as fancy as I could do without a decent lighting setup and my limited camera skills.
    Some of these photo's are a bit fuzzy, esp the ones without flash, no flash + energy saving light bulbs + black = don't mix well, I've tried not to use the flash as it does flatten images and reflect in ways that make the case look less like it does in person.

    First the lovely Saitek keyboard


    It's such a nice keyboard, I'm really tempted to get one for myself.

    Some more shots of the drive bays


    Without the flash you can see there's no brown on the DVDr/w, although there is a scratch on it, while I managed to do before I lacqured it.
    I've also hand painted about the first 2cm of the casing with black acrylic, not sealed or anything so it's not that robust, but that's ok as I mainly did it to hide the small amount of grey you could see through the clear acrylic sheet of my bezel.

    Some overall case photo's


    Finally some close-up's

    So pleased with that NZXT fan, quiet but not silent, although with the All-in-one running it it's at 7v running at about 860rpm and is next to silent, more importantly the effect is great, you can just about see the blades behind the filter and when it's running it's just a white and grey disc which is just what I wanted.


    Well that's it.

    All done.

    Finished.

    Mouse? . . . What mouse?
    Ok, I'll admit it, I'm a mouse missing, if you look back there where photo's of a mouse I was doing a custom paint job on, last pictured I'd mucked up the paint job and had to redo it.
    I did redo it, honest, I even did a black&white fade on the buttons as well, however I've misplaced it I put all the bits neatly together is a bag, I just don't know where I put the bag.
    Which is why the photo from a couple of posts back has just got a basic kensington optical mouse in it, I may swap it for a basic logitech optical mouse.

  3. #35
    Senior Member Pob255's Avatar
    Join Date
    Apr 2007
    Location
    The land of Brum
    Posts
    10,143
    Thanks
    608
    Thanked
    1,226 times in 1,123 posts
    • Pob255's system
      • Motherboard:
      • Asus M5A99X EVO
      • CPU:
      • FX8350 & CM Hyper 212+
      • Memory:
      • 4 x 2gb Corsair Vengence 1600mhz cas9
      • Storage:
      • 512gb samsung SSD +1tb Samsung HDD
      • Graphics card(s):
      • EGVA GTX970
      • PSU:
      • Seasonic GX 650W
      • Case:
      • HAF 912+
      • Operating System:
      • W7 Pro
      • Monitor(s):
      • iiyama XB3270QS-B1 32" IPS 1440p

    Re: Project - Dichotomy (Finished)

    And that's it boys and girls, done, I hope you enjoyed it.

    The lady at work I made this for was and is still very happy with it, no faults have occurred and it's still working well for her need to this day (mainly used for word a bit of excel, watching dvd's and internet use)
    Ans the fact she's now got her own pc that she can keep her kids off it is probably a big factor.

    So even though the hardware is already limited by today's standards you don't need much for basic use.

  4. Received thanks from:

    Bluecube (20-01-2013)

  5. #36
    stormrazer razer121's Avatar
    Join Date
    Sep 2009
    Posts
    3,178
    Thanks
    880
    Thanked
    146 times in 128 posts

    Re: Project - Dichotomy (Finished)

    Nice, i like how it has turned out, but how is the white paint reacting with general ware? making me consider it as a colour choice for my arc mod
    Quote Originally Posted by TAKTAK View Post
    It was so small that mine wouldn't fit into it

  6. #37
    Senior Member Pob255's Avatar
    Join Date
    Apr 2007
    Location
    The land of Brum
    Posts
    10,143
    Thanks
    608
    Thanked
    1,226 times in 1,123 posts
    • Pob255's system
      • Motherboard:
      • Asus M5A99X EVO
      • CPU:
      • FX8350 & CM Hyper 212+
      • Memory:
      • 4 x 2gb Corsair Vengence 1600mhz cas9
      • Storage:
      • 512gb samsung SSD +1tb Samsung HDD
      • Graphics card(s):
      • EGVA GTX970
      • PSU:
      • Seasonic GX 650W
      • Case:
      • HAF 912+
      • Operating System:
      • W7 Pro
      • Monitor(s):
      • iiyama XB3270QS-B1 32" IPS 1440p

    Re: Project - Dichotomy (Finished)

    It's holding up pretty well AFAIK, one thing I've learned is that spray can paint can take a few days or weeks to fully harden, that's the main reason I got damage to the top panel, the paint had only been left overnight to dry.
    Depends on the paint + thickness + layers of course, generally after 12 hours it's dry, but it will keep slowly hardening as the solvents in the paint slowly leach out.
    This is also a big reason people say don't mix acrylic paint with enamel paint, because enamel leaches solvents at a far slower rate.
    note: I've found artist acrylic is fine to mix layers with ether acrylic or enamel spray paint, this is probably because has no solvent other than water unless you add a drying inhibitor, even then once it's dry that's it, no additional leaching time.

    Part of why I put the acrylic sheet on the front was protection of the paint

    One thing you might want to consider is plasti-kote engine enamel http://www.plastikote.com/products/S...ne-Enamel.html I've not yet used it but it is supposed to be very good and hard wearing.

  7. #38
    Registered+
    Join Date
    Jan 2013
    Posts
    23
    Thanks
    0
    Thanked
    2 times in 2 posts

    Re: Project - Dichotomy (Finished)

    well it looks a dam lot better than it did

    but seriously. impressive skills. must have taken alot of thought/time

  8. #39
    Senior Member Pob255's Avatar
    Join Date
    Apr 2007
    Location
    The land of Brum
    Posts
    10,143
    Thanks
    608
    Thanked
    1,226 times in 1,123 posts
    • Pob255's system
      • Motherboard:
      • Asus M5A99X EVO
      • CPU:
      • FX8350 & CM Hyper 212+
      • Memory:
      • 4 x 2gb Corsair Vengence 1600mhz cas9
      • Storage:
      • 512gb samsung SSD +1tb Samsung HDD
      • Graphics card(s):
      • EGVA GTX970
      • PSU:
      • Seasonic GX 650W
      • Case:
      • HAF 912+
      • Operating System:
      • W7 Pro
      • Monitor(s):
      • iiyama XB3270QS-B1 32" IPS 1440p

    Re: Project - Dichotomy (Finished)

    Thanks

    time wise modding was about 6 weeks about the same for getting the hardware (big disadvantage with 2nd had stuff and a very tight budget) getting my ideas down on sketchup helped as did the later models of this case (that we also have at work) so I knew separate panels would work, coming up with how to make the bezel was the hardest part.

Thread Information

Users Browsing this Thread

There are currently 1 users browsing this thread. (0 members and 1 guests)

Posting Permissions

  • You may not post new threads
  • You may not post replies
  • You may not post attachments
  • You may not edit your posts
  •