There is only one problem with this build....it takes too long for an updatenice work chap keep us updated!
As I have previously owned a Mountain Mods case, I know how hard it is to do cable management correctly.
As this case is based on a MM design (very loosely) I realised that I had to put something in place to rectify this problem.
After some thought, I decided to put a false panel behind the motherboard tray.
Panel cut to size with an area cut out, to keep the rear of the CPU cool
To hold it in position, I used some 20mm U section aluminium
U section drilled & fitted with the good old rivet nuts
False panel marked out & drilled to match the U sections.
False panel bolted to U sections
The rear of the U section was then marked out
U section drilled
Motherboard panel drilled to attach U sections
U sections attached to motherboard tray with countersunk pop rivets
False panel fitted in place
Now I have a 25mm gap between the rear of the motherboard tray & the false panel to hide all my cables.
I have had to change direction recently due to aesthetic issues.
One of these changes was the power supply.
I decided to go with a fully modular version.
After much deliberating, I went with the Corsair
The usual high standard of packaging
Nice little case to hold the cables
It holds LOTS of cables
Hopefully enough for the future
The PSU comes in a very nice velvet bag
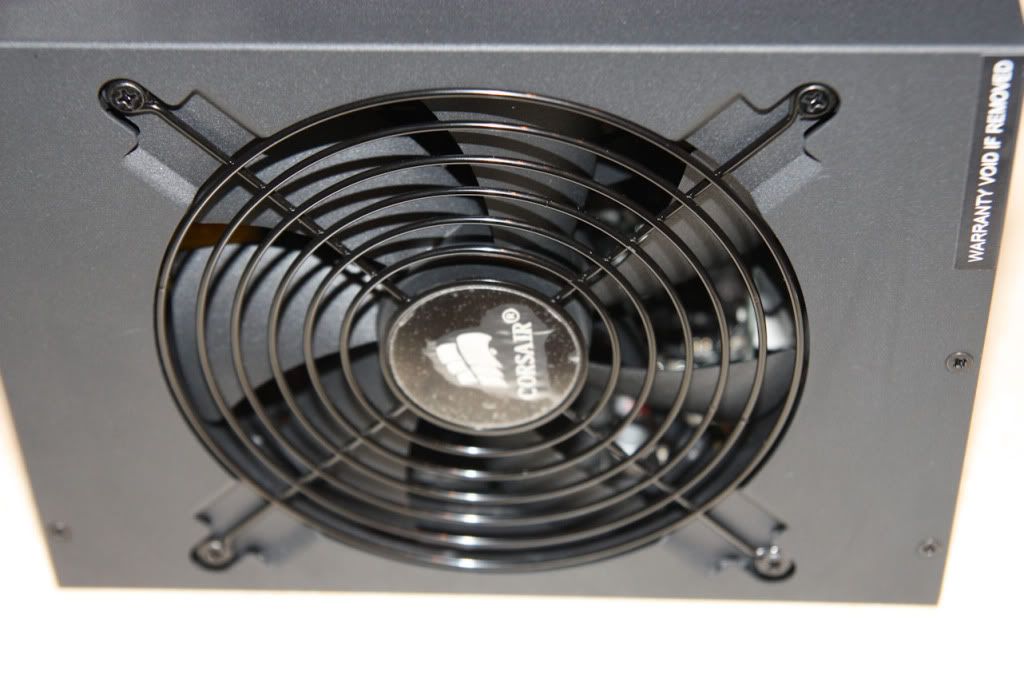
The PSU is no larger than most standard units even though its rated @ 1200watts
A nice, simple modular design
Unit comes with a very quiet 140mm fan

The people who have Corsair fans on their RAM know they are not very quiet.
I am no exception but I love my GT's so I thought I would treat them to something nice
The regular EK packaging that you have now seen so often in my build (before you ask, I am not sponsored, I wish)
Not many extras in this box, only instructions & allen key
Oh & a water block
Went with Acetal & Nickel again
Oh so very shiny

mkins99 (15-05-2011)
Jesus wept, what do you do for a living :O. Even if I hit the peak of my career I don't think I'd be able to afford all this and what I'm training for is hardly poorly paid.
Cleavage is like the sun...Quick glances.
Mrs Piggin is very supportive
She must be if your up posting at 6:34 am !
razer121 (15-05-2011)
OK then
Started changing over the water blocks on the motherboard
Quick pick of how it has been on 'The Shelf' for some time with the Swiftech XT fitted
All the 'extras' stripped off the board
New EK water block fitted to the CPU
A quick rear view
Also decided to do the RAM
RAM stripped down
RAM returned to motherboard to get the correct spacing
After applying same TIM, the block was fitted
Compression fittings put into place
Tubing run into place
Graphics cards fitted back onto motherboard
'The Shelf' has never looked so 'shiny'
What pump do you run through all that? Presumably you're using more than one rad? You're going to get a whole of heat dumped in the water otherwise.
Cleavage is like the sun...Quick glances.
Using a Laing D5 set @ No.5 @ this time.
Everything is run through one rad (Black Ice SR-1 480) with double 38mm YateLoon fans in a push/pull configuration.
This is still generating a lot of heat, so the overclocking has had to stop for the time being.
The final build will be a multi pump & rad setup.
I see. I was wondering since I run a single 2x120mm rad (Would love a 3x120mm rad, can't fit it internally in my armour though) and I stayed away from putting my GPU in the loop to avoid excess heat. My loop is dedicated exclusively for my CPU, I've always put more effort behind CPU over clocking than GPU over clocking though. Not sure why.
Cleavage is like the sun...Quick glances.
I have found that overclocking the GPU gives a nice increase in FPS with games
There are currently 1 users browsing this thread. (0 members and 1 guests)