Wow, that case looks immense. Jebus it's wiiiiiide. Loving the morse code effect you've got going on there. Kudos, it's shaping up to be very impressive
Wow, that case looks immense. Jebus it's wiiiiiide. Loving the morse code effect you've got going on there. Kudos, it's shaping up to be very impressive
Oh wow this is looking soooo nice
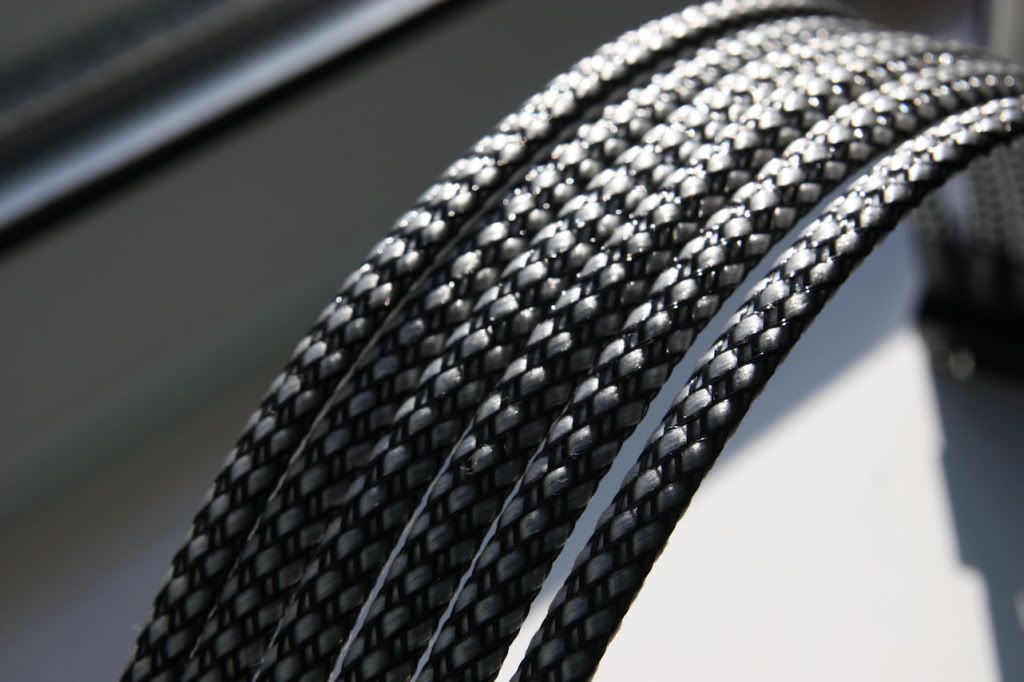
Love that braiding Piggin, quick question is it a soft feeling braid? I found the enermax braid with those yellow bits doesn't feel as plastic as most braid.
I will have to look up those rivets, don't quite get how they work, normal pop rivets work by being deformed as the pin is pulled through.
[rem IMG]https://i69.photobucket.com/albums/i45/pob_aka_robg/Spork/project_spork.jpg[rem /IMG] [rem IMG]https://i69.photobucket.com/albums/i45/pob_aka_robg/dichotomy/dichotomy_footer_zps1c040519.jpg[rem /IMG]
Pob's new mod, Soviet Pob Propaganda style Laptop.
"Are you suggesting that I can't punch an entire dimension into submission?" - Flying squirrel - The Red Panda Adventures
Sorry photobucket links broken
Thanks m8.
The braid is softer than the normal 'dense weave' from ChilledPc (this is a new line they are introducing into this country)
As for the rivets.
If you follow the link, there are a few diagrams @ the bottom that explains it quite nicely
http://www.rivetnuts.com/
Pob255 (06-03-2011)
Just have to say a big Thank You
To everyone @ ChilledPc for getting the panels laser cut
As I have been asked by a few people about the nut rivets I used. I thought I would give you all a more in-depth run down of what I have done to date:-
Firstly I placed the panel on top of the frame in the correct place
I then drilled a 4mm hole in the frame
To stop the panel from moving, I pop riveted the panel in place. (I did this in a few places)
I then drilled all the 4mm holes into the frame & drilled the heads of the pop rivets out.
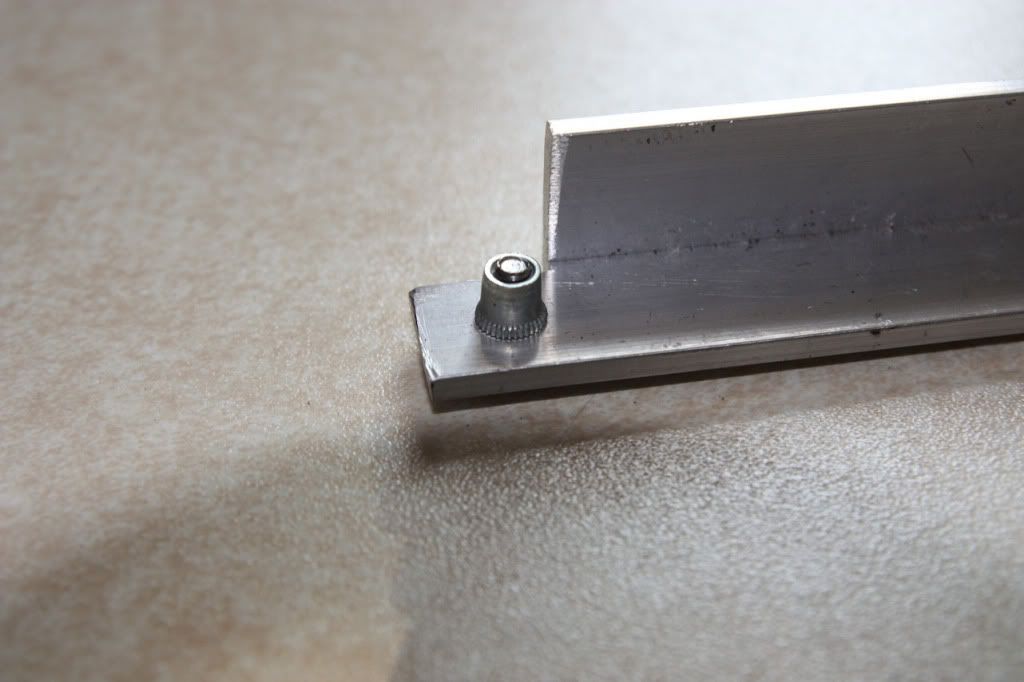
The nut rivets that I used were 4mm thread with a counter sunk head (to give a flush finish on the frame)
I measured the outer diameter of the rivet to give me the correct size drill
I then drilled all the holes on the frame with a 5.93mm drill
To ensure the panels sit flush, a counter sinking tool was used
All the holes were then counter sunk.
If the counter sink is not deep enough, then the rivet sits high & not flush to the frame.
More material has to be removed
Now the rivet will sit flush
Screw the rivet nut onto the end of the 4mm insert for the rivet nut gun.
Put the rivet in the counter sunk hole & squeeze the handles together.
The nut is deformed underneath & the thread is in perfect condition.

Pob255 (06-03-2011)
Big Thanks Piggin
That's a nice alternative to tapping and of course if the thread gets damaged in any way you can just drill out the rivet and put a new one in.
However when you're just going through a single bit of metal like that, tapping would of been much easier and cheaper to do, esp with aluminium.
EDIT: Oh and those laser cut panels do look soooo good, are you planning on painting it? or going to splash out and get them Anodised?
Last edited by Pob255; 06-03-2011 at 02:39 PM.
[rem IMG]https://i69.photobucket.com/albums/i45/pob_aka_robg/Spork/project_spork.jpg[rem /IMG] [rem IMG]https://i69.photobucket.com/albums/i45/pob_aka_robg/dichotomy/dichotomy_footer_zps1c040519.jpg[rem /IMG]
Pob's new mod, Soviet Pob Propaganda style Laptop.
"Are you suggesting that I can't punch an entire dimension into submission?" - Flying squirrel - The Red Panda Adventures
Sorry photobucket links broken
I went with the rivet nuts as I did not want to tap 80 holes out.
Also, as aluminium is so soft, I find the threads get damaged very easily.
As you said, if a thread becomes damaged, I can drill it out.
As for the case, I am going to get a custom paint job
I have been playing around with the 'ribbon' braid again
I do think this stuff does look very sexy.

That is lovely braidand a very neat braiding job

[rem IMG]https://i69.photobucket.com/albums/i45/pob_aka_robg/Spork/project_spork.jpg[rem /IMG] [rem IMG]https://i69.photobucket.com/albums/i45/pob_aka_robg/dichotomy/dichotomy_footer_zps1c040519.jpg[rem /IMG]
Pob's new mod, Soviet Pob Propaganda style Laptop.
"Are you suggesting that I can't punch an entire dimension into submission?" - Flying squirrel - The Red Panda Adventures
Sorry photobucket links broken
Thanks Pob, I am doing my best.
awesome!
all the parts look pretty cool, hope one day i can do the same.
thank you for sharing your work.
Your Welcome
That case is amazing! i can't wait to see the finished product
I am still making progress (even though it is a little slow).
Hopefully, I will have another update soon.
Thankfully, photo bucket is now working so I can do my next update.
Motherboard back plate cut & fitted.
(Held in place by tags that have been welded onto frame)
A lot of further work required on this with regards cable management etc.
Cut & fitted bottom sectionalising panels for both sides.
Panels marked & drilled
Frame drilled & nut rivets used
Panel firmly attached to frame
Repeated on all four corners
Last edited by piggin23; 15-04-2011 at 03:16 PM.
There are currently 2 users browsing this thread. (0 members and 2 guests)